
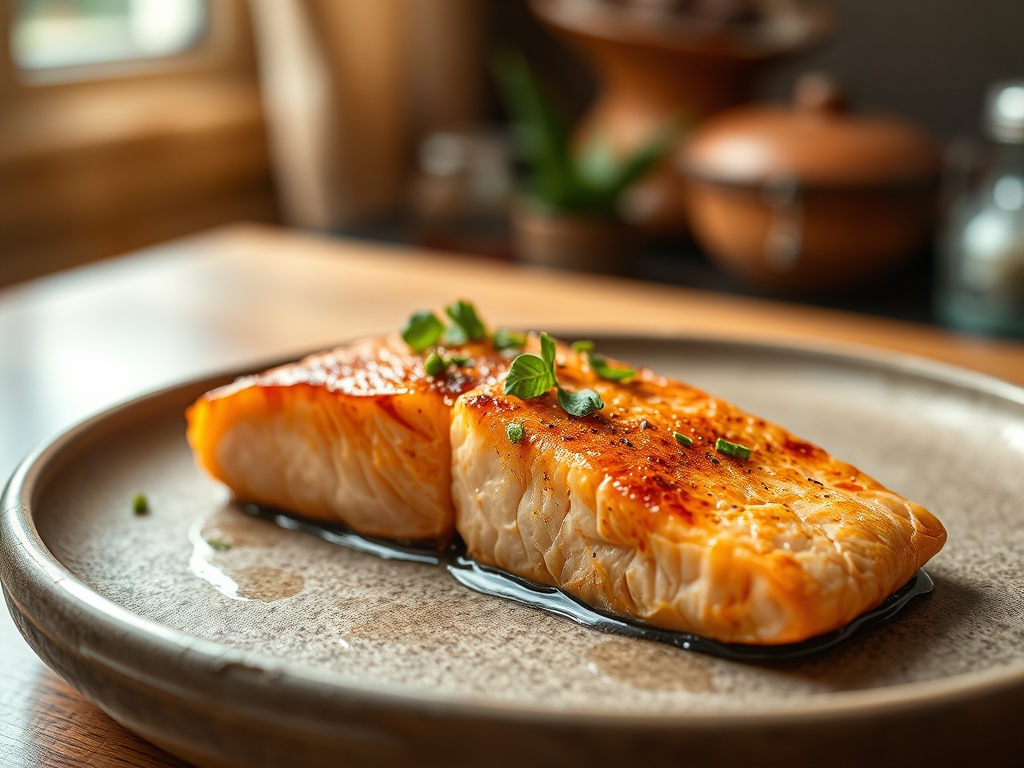
Picture the sound of a cold, heavy-bottomed skillet meeting a high-flame burner; that sharp, anticipatory hiss is the overture to a perfect meal. We are chasing that elusive, glass-shattering skin and a center so buttery it practically sighs under the weight of a fork. When searching for salmon recipes skinnytaste fans adore, the goal is always the same: high-impact flavor without the heavy caloric footprint. Salmon is the ultimate canvas for this. It is a biological marvel packed with omega-3 fatty acids that provide a luxurious, viscous mouthfeel. In this guide, we are going to master seven distinct flavor profiles, from piquant citrus glazes to earthy herb crusts. We will use molecular science to ensure your fillets never turn into dry, chalky bricks. Instead, we are aiming for a delicate protein transformation that honors the fish. By the time we finish, you will handle a fillet with the confidence of a seasoned chef, turning a simple weeknight dinner into a high-density nutritional masterpiece that tastes like pure indulgence.
The Gathers:
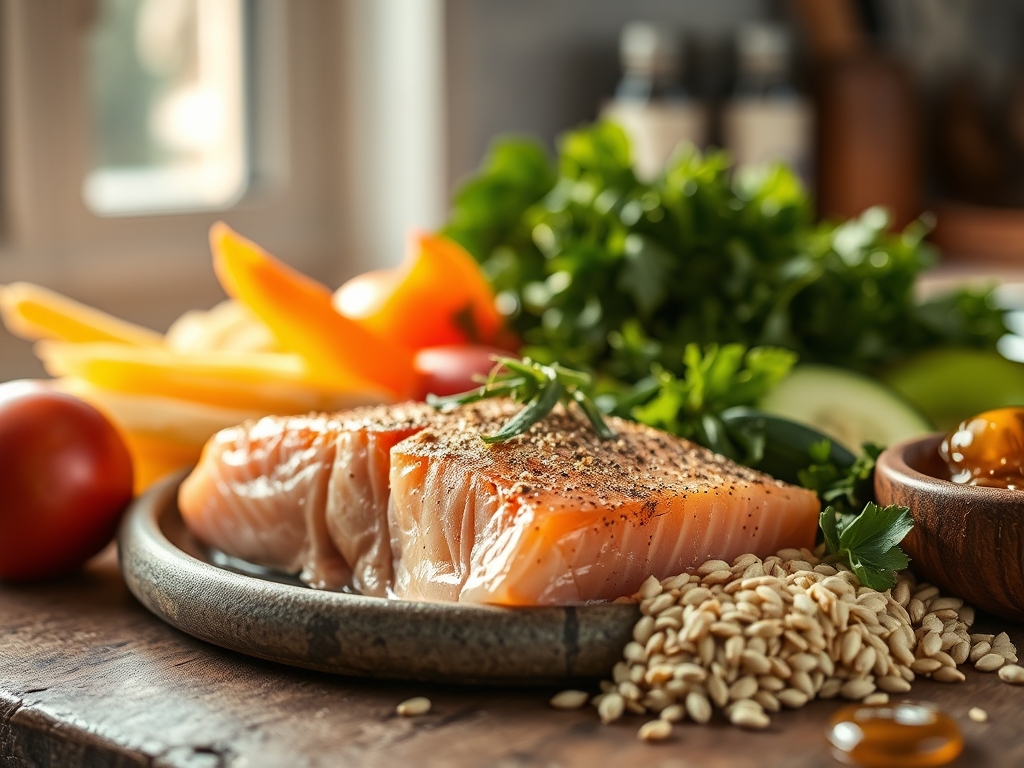
Before we ignite the flame, we must respect the mise-en-place. Your workstation should look like a laboratory of flavor. Start with center-cut Atlantic or Sockeye fillets; look for a vibrant, translucent hue rather than a matte finish. You will need a microplane for zesting citrus, as this tool shears the zest into fine ribbons that release essential oils without the bitter pith. Gather high-smoke-point fats like avocado oil or clarified butter to ensure the Maillard reaction occurs before the oil begins to smoke and break down into acrid compounds.
Smart Substitutions: If you are avoiding honey or maple syrup for a low-glycemic index version, use a splash of orange juice reduction to provide natural sugars for caramelization. Swap heavy cream for a light coconut milk infused with lemongrass to maintain a creamy texture with a tropical, piquant edge. Always have a digital scale nearby; precision in protein weight ensures that your cooking times remain consistent across all seven variations. Finally, keep a bowl of coarse kosher salt ready. The jagged edges of the salt crystals allow for better grip and more even distribution compared to the fine, rolling grains of table salt.
The Clock:
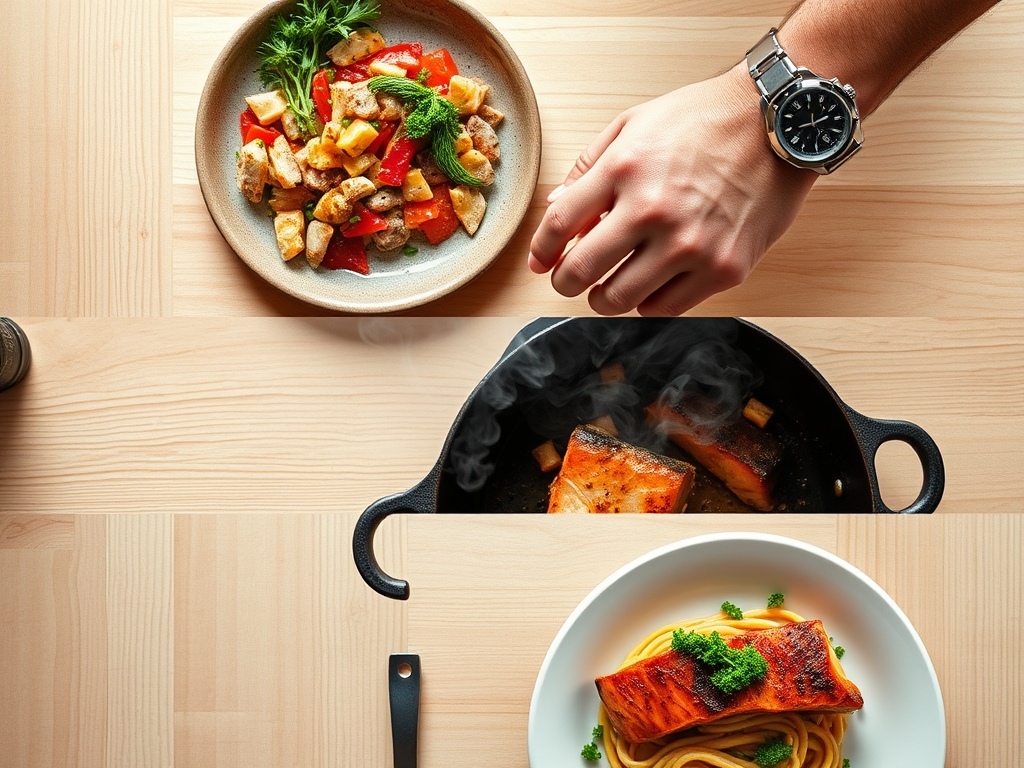
Efficiency in the kitchen is about "Chef's Flow," which is the art of overlapping tasks to minimize downtime. For these seven recipes, the active prep time is a crisp fifteen minutes, while the thermal application ranges from six to twelve minutes depending on thickness.
The flow begins with the "Tempering Phase." Never take salmon straight from the refrigerator to the pan. Cold protein fibers contract violently when hitting heat, squeezing out moisture and leaving you with a tough result. Allow your fillets to sit at room temperature for twenty minutes. During this window, you will execute your knife work. Use a sharp bench scraper to clear your board of aromatics like minced garlic or shallots. By the time your pan is screaming hot, your fish is relaxed and ready for a rapid sear. This synchronized approach ensures that the total time from counter to table never exceeds thirty minutes.
The Masterclass:
1. The Desiccation Ritual
The secret to crispy skin is the total absence of surface moisture. Use a paper towel to press firmly onto the skin side until the paper comes away bone dry.
Pro Tip: This is about evaporative cooling. If moisture remains, the heat of the pan will turn that water into steam, boiling the fish instead of searing it. Dry skin allows the proteins and sugars to undergo the Maillard reaction immediately.
2. The Seasoning Elevation
Hold your hand at least twelve inches above the fillet and rain down your salt and pepper. This height ensures an even "snowfall" of seasoning rather than concentrated clumps.
Pro Tip: Salt acts as a denaturant. It begins to break down the tightly wound protein strands on the surface, allowing them to brown more deeply and creating a savory crust that seals in the internal juices.
3. The Cold-Oil Press
Heat your heavy-bottomed skillet until a drop of water flicked onto it dances and evaporates instantly. Add your oil, then immediately lay the salmon skin-side down, pressing firmly with a flexible metal spatula for thirty seconds.
Pro Tip: This prevents the natural collagen contraction. As the skin hits heat, it wants to curl. Pressing it flat ensures maximum surface contact, leading to an even, golden-brown texture across the entire fillet.
4. The Thermal Glide
Lower the heat to medium-high. Watch the side of the fillet; you will see the opaque, cooked color creep up from the bottom. When it reaches the halfway point, it is time to flip using tongs or a fish spatula.
Pro Tip: This is conductive heat transfer. By cooking the fish 70 percent of the way on the skin side, you protect the delicate flesh from direct high heat, resulting in a more tender internal structure.
5. The Butter Baste and Infusion
In the final two minutes, drop a knob of butter and a smashed garlic clove into the pan. Tilt the skillet and use a large spoon to continuously drench the salmon in the foaming fat.
Pro Tip: This is called arroser. The hot fat carries the fat-soluble flavor compounds from the garlic and herbs directly into the protein, while the milk solids in the butter undergo further browning for a nutty finish.
6. The Carryover Rest
Remove the salmon from the pan when it is about five degrees below your target temperature. Place it on a warm plate and let it rest for three minutes before serving.
Pro Tip: Thermal carryover is real. The residual heat on the surface continues to move toward the center even after the fish leaves the pan. Skipping the rest results in a "bleeding" of juices the moment you cut into it.
The Deep Dive:
When analyzing the macro nutrition of these salmon recipes skinnytaste style, we see a profile of roughly 350 calories per serving with 30 grams of protein and 20 grams of healthy fats. To keep this keto-friendly, serve alongside a deglazed pan sauce of lemon and capers. For a vegan-adjacent swap, the same searing techniques apply beautifully to thick slabs of cauliflower or "tofu steaks" pressed to remove moisture.
The Fix-It: If your salmon is sticking, you likely tried to flip it too early. Protein "releases" naturally once the crust is formed. If you see white bubbles (albumin) seeping out, your heat was too high; it is harmless but indicates the muscle fibers contracted too fast. If the skin is soggy, your pan was not hot enough to flash-evaporate the surface oils.
For meal prep, reheating salmon is a delicate science. Avoid the microwave, which vibrates water molecules and turns the fish rubbery. Instead, use a "Low and Slow" oven method at 275 degrees with a splash of water in the dish, covered in foil, to rehydrate the proteins gently.
The Wrap-Up:
Mastering these seven salmon variations is about more than just following a list; it is about understanding the physics of your kitchen. By respecting the sear, timing the rest, and using your tools like a pro, you transform a simple ingredient into a world-class dinner. These salmon recipes skinnytaste enthusiasts love are designed to be vibrant, fast, and technically perfect. Now, grab that skillet and let the Maillard reaction work its magic.
The Kitchen Table:
How do I prevent salmon from smelling "fishy"?
Freshness is key, but you can also soak fillets in milk for twenty minutes. The proteins in milk bind to trimethylamine, the compound responsible for that sharp odor, effectively neutralizing it before you begin the cooking process.
Can I cook salmon from frozen?
Yes, though it is not ideal for texture. Use the "steam-sear" method: start in a covered pan with a bit of liquid to thaw the center, then uncover and increase heat to render the fat and crisp the exterior.
What is the best internal temperature for salmon?
For a buttery, medium-rare texture, aim for 125 degrees Fahrenheit. For a firmer, medium finish, pull the fish at 135 degrees. Always account for carryover cooking, which will raise the internal temperature by another five degrees while resting.
Why does my salmon skin always tear?
This usually happens because the pan was not hot enough or was not properly seasoned. Use a heavy-bottomed skillet and wait for the oil to shimmer. Ensure the skin is perfectly dry to prevent it from bonding to the metal.