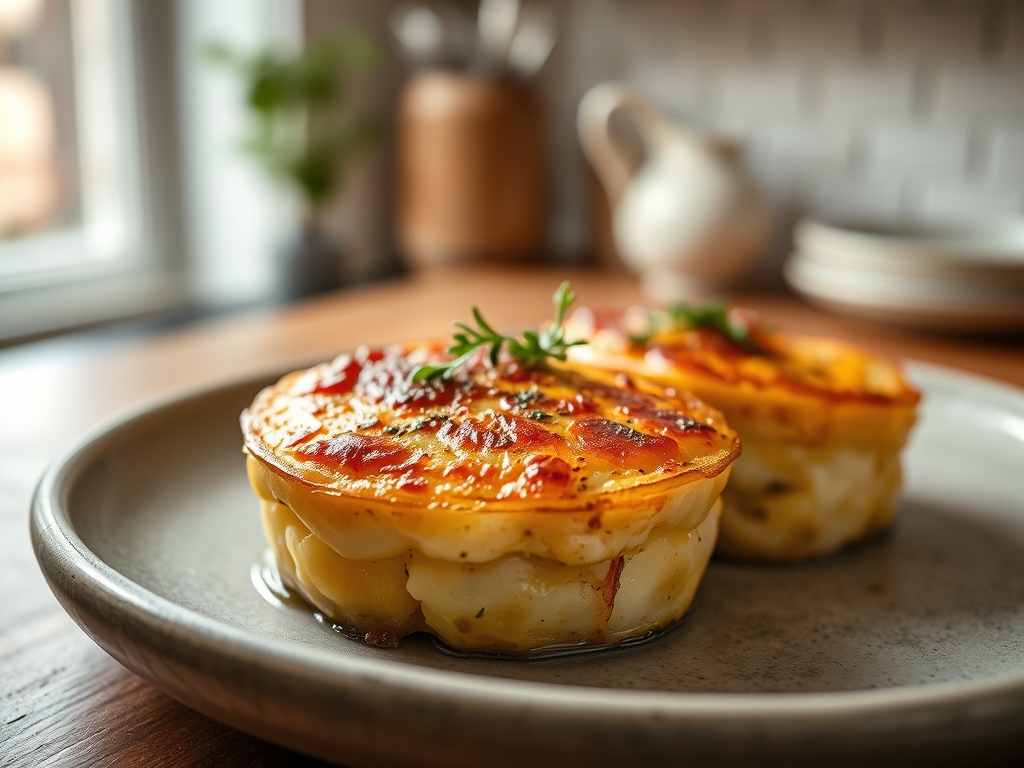
Picture a heavy cast iron skillet resting on a reclaimed wood table; the steam rising from its surface carries the scent of toasted nutmeg and sharp Gruyere. This is the ultimate comfort food. When searching for gluten free scalloped potato recipes, you are likely looking for that perfect balance of a golden, shattered-glass crust and a silken, creamy interior. We are ditching the floury glop of yesteryear for sophisticated, starch-managed elegance.
The secret to a world-class potato gratin lies in understanding the humble tuber. We are not just baking vegetables; we are engineering a structural masterpiece of starch and lipids. By utilizing the natural amylopectin within the potatoes themselves, we can achieve a luxurious mouthfeel without a single grain of wheat. Whether you are hosting a holiday gala or a cozy Tuesday night, these ten variations on the classic theme will redefine your expectations of gluten free side dishes. We will focus on the interplay of heat, fat, and hydration to ensure every bite is a revelation of texture and flavor.
The Gathers:
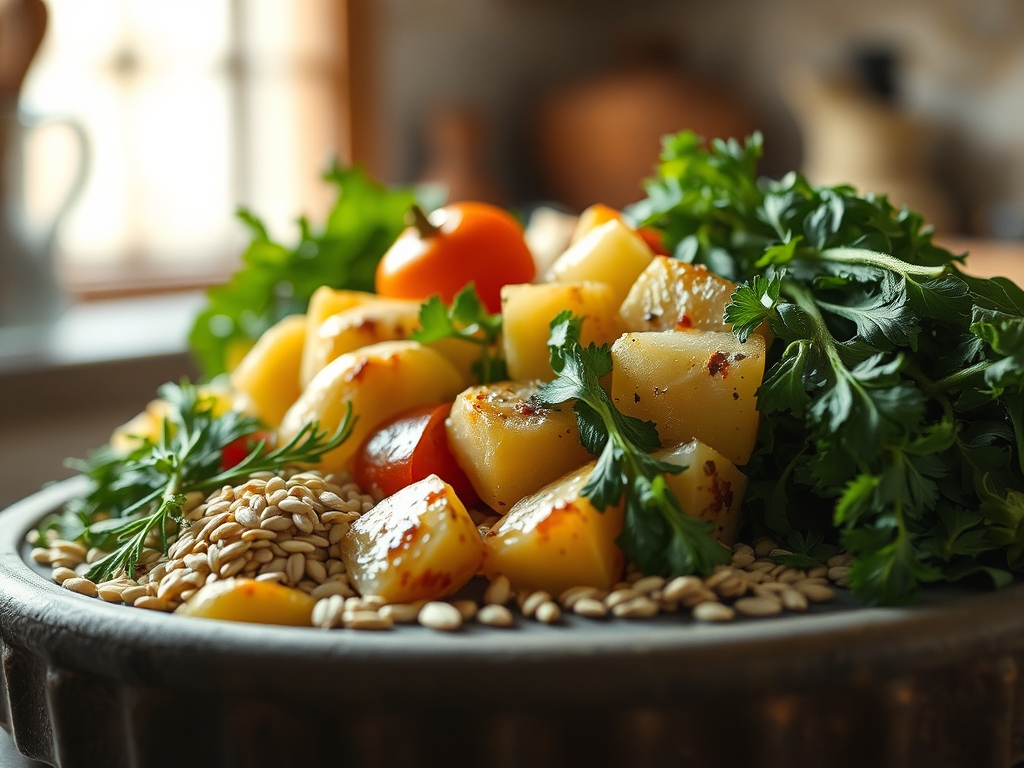
To begin this culinary journey, your mise-en-place must be impeccable. Reach for your digital scale to ensure precision; weight is far more reliable than volume when dealing with sliced produce. You will need high-starch potatoes like Russets or Yukon Golds. Russets provide a floury texture that absorbs cream beautifully, while Yukons offer a buttery, waxy finish that holds its shape under the weight of heavy sauces.
For your "Smart Substitutions," forget the gritty rice flour blends. Instead, use heavy cream and the natural starches of the potato to create a viscous sauce. If you require a thickener, a small amount of cornstarch or arrowroot powder slurry can be whisked into your saucier to provide stability. Your aromatics should include fresh thyme, crushed garlic cloves, and a hint of shallot. Use a microplane to grate fresh nutmeg directly into the cream; this adds a piquant depth that pre-ground spices simply cannot match. High-quality fats are non-negotiable. Use grass-fed butter to render out a nutty base, and select cheeses with high meltability like Emmental, sharp white cheddar, or fontina.
The Clock:
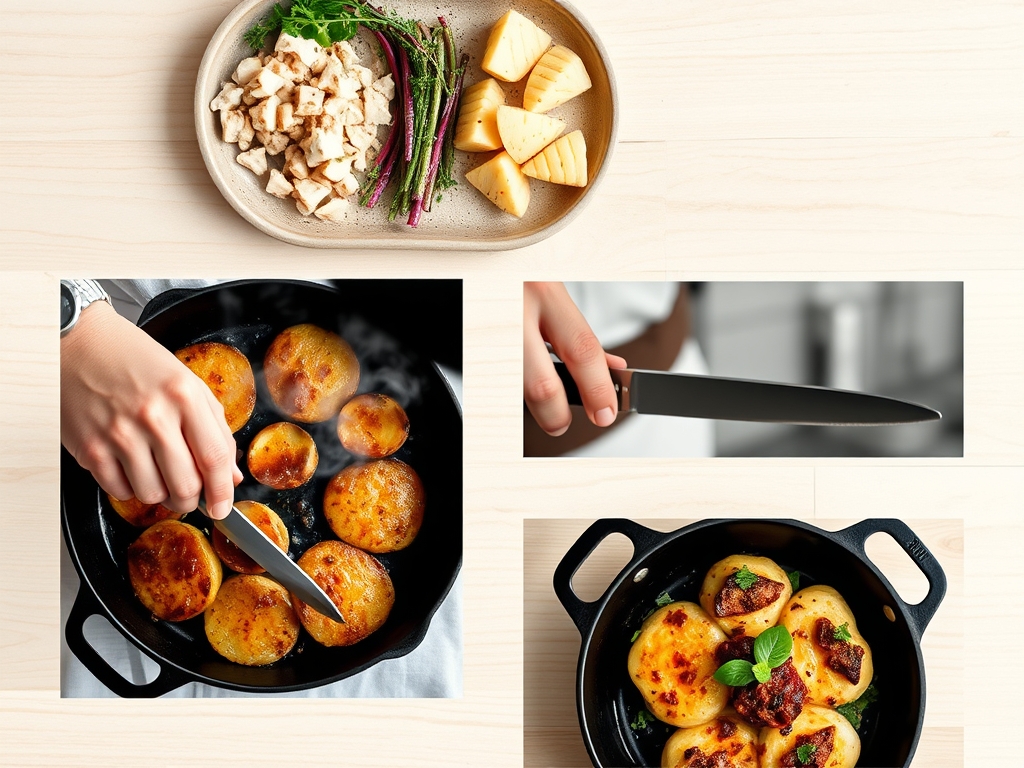
Mastering the "Chef's Flow" is about managing active versus passive time. Expect approximately 25 minutes of active preparation. This includes washing, peeling, and slicing your tubers using a sharp mandoline for uniform thickness. Consistency is the key to even cooking; a stray thick slice will remain crunchy while its neighbors turn to mush.
The baking phase requires patience. A standard batch takes 60 to 75 minutes at 375 degrees Fahrenheit. However, the most critical part of the clock is the "Rest Phase." You must allow the dish to sit for at least 15 minutes after exiting the oven. This allows the starches to re-set and the proteins in the cheese to stabilize, ensuring that when you use your bench scraper to portion out servings, the layers remain distinct rather than sliding into a puddle.
The Masterclass:
1. The Precision Slice
Uniformity is your best friend. Use a mandoline set to one-eighth of an inch to slice your potatoes. Do not soak them in water afterward; we need that surface starch to help thicken the sauce.
Pro Tip: This preserves the enzymatic browning potential. Keeping the starch on the surface allows it to gelatinize immediately when it hits the hot cream, creating a natural emulsion.
2. The Cream Infusion
In a heavy-bottomed skillet, combine your cream, smashed garlic, and herbs. Bring it to a gentle simmer, but do not boil. This process allows the essential oils of the herbs to infuse into the fat molecules of the cream.
Pro Tip: Using a saucier with rounded bottom edges prevents the milk solids from scorching in the corners, which would otherwise introduce a bitter, burnt note to your delicate sauce.
3. The Shingled Assembly
Butter your baking dish generously. Arrange the potato slices in overlapping rows, seasoning every single layer with salt and pepper. Pour the infused cream over the top until it reaches just below the top layer of potatoes.
Pro Tip: This layering technique creates micro-pockets for the cream to circulate. Salt draws out moisture through osmosis, which then mixes with the cream to create a savory jus.
4. The Initial Bake
Cover the dish tightly with foil. This creates a pressurized steam environment that softens the potatoes quickly without drying out the top. Bake for 40 minutes.
Pro Tip: Steaming the potatoes first ensures the interior reaches the gelatinization temperature of starch (about 150F) before the exterior begins to brown too deeply.
5. The Maillard Finish
Remove the foil and scatter your shredded cheese across the top. Return to the oven for another 20 minutes. The proteins and sugars in the cheese will undergo the Maillard reaction, resulting in a complex, savory crust.
Pro Tip: Watch for thermal carryover. The internal temperature will continue to rise by 5 to 10 degrees after you pull it from the oven; remove it when the center is just tender to avoid overcooking.
The Deep Dive:
From a nutritional standpoint, this dish is a powerhouse of potassium and Vitamin C, though it is admittedly high in lipids. To lighten the load, you can swap half the heavy cream for a high-quality chicken bone broth, which adds collagen and depth without the heavy fat content. For a Vegan version, utilize full-fat coconut milk and nutritional yeast to replicate the savory "umami" profile. For a Keto twist, replace half the potatoes with sliced daikon radish or cauliflower florets to reduce the net carb count.
Even the best chefs encounter pitfalls. If your sauce looks broken or "curdled," it is likely because the heat was too high or the cream was too thin. To fix this, whisk a teaspoon of cold butter into the liquid areas to re-emulsify the fats. If the potatoes are still hard, add a splash of warm milk, cover with foil, and return to the oven; the extra moisture and steam will finish the softening process.
For meal prep, reheating is a science. Avoid the microwave, which turns the fats greasy and the potatoes rubbery. Instead, place individual portions in a small oven-safe dish, add a tablespoon of milk, and cover with foil. Heat at 325 degrees until the internal temperature reaches 165 degrees. This gentle approach restores the original creamy texture.
The Wrap-Up:
There you have it; the definitive guide to conquering gluten free scalloped potato recipes with style and scientific precision. By focusing on starch management and temperature control, you have transformed a simple root vegetable into a decadent, multi-layered masterpiece. Remember to trust your tools, watch your timers, and never skip the rest period. Now, grab your favorite serving spoon and prepare for the standing ovation your kitchen deserves!
The Kitchen Table:
How do I prevent my scalloped potatoes from being watery?
Use starchy Russet potatoes and avoid soaking them after slicing. The surface starch acts as a natural thickener. Additionally, ensure you allow the dish to rest for 15 minutes post-bake to let the liquids set into a creamy sauce.
Can I make these scalloped potatoes ahead of time?
Yes. You can bake the dish fully, refrigerate it, and reheat it the next day. The flavors often deepen overnight. Just be sure to reheat it covered at a lower temperature to maintain the emulsion of the cream sauce.
What is the best cheese for a gluten free gratin?
A combination of Gruyere for its nutty melt and sharp white cheddar for its acidic tang is ideal. Always grate your own cheese from a block; pre-shredded varieties often contain potato starch or cellulose that can affect the sauce's smoothness.
Why did my cream sauce curdle in the oven?
Curdling usually happens if the oven temperature is too high or if you used low-fat milk. High heat causes dairy proteins to clump. Stick to heavy cream or whole milk and keep your oven at or below 375 degrees.