
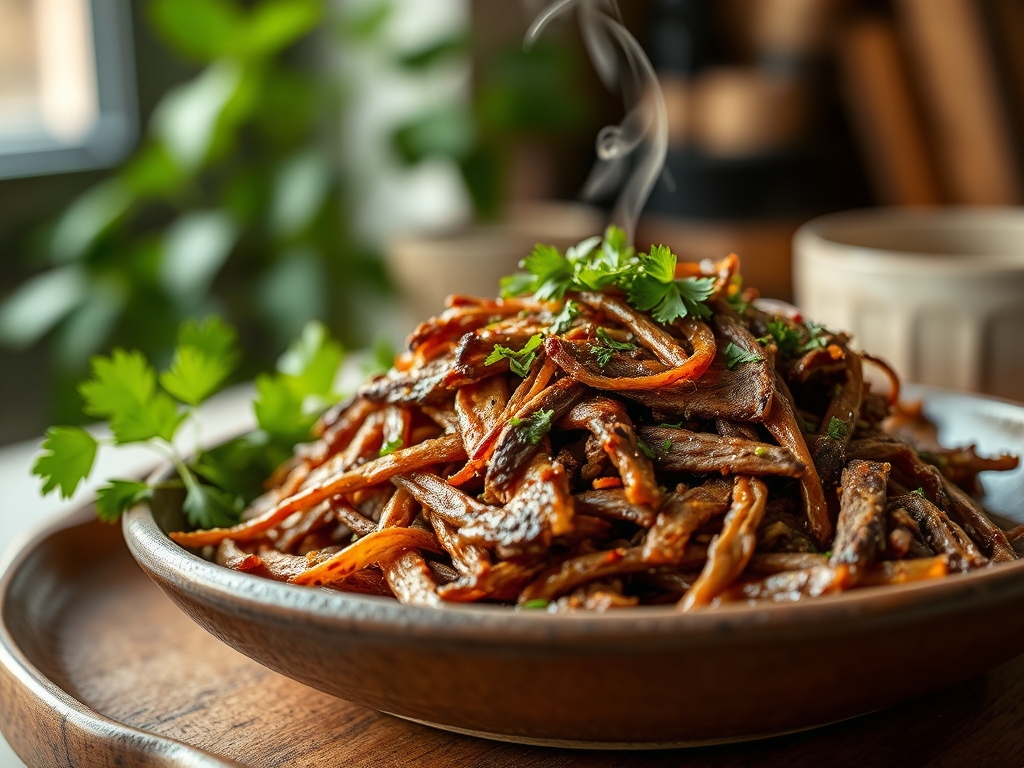
Picture the kitchen at 3:00 PM on a Sunday. The air is thick with the scent of toasted chiles and roasting garlic; a fragrance so viscous you can almost chew it. When you master authentic mexican shredded beef recipes, you are not just making dinner; you are conducting a symphony of connective tissue and heat. We are looking for that perfect, fork-tender strand of beef that holds onto its juices while offering a piquant kick from a deeply reduced adobo. It is the kind of meal that makes your neighbors find an excuse to knock on your door. Whether you are stuffing this into a charred corn tortilla or piling it atop a crisp tostada, the goal is a texture that is simultaneously rugged and silky. Today, we are stripping away the mystery and diving into the molecular magic that turns a tough hunk of muscle into a culinary masterpiece.
The Gathers:
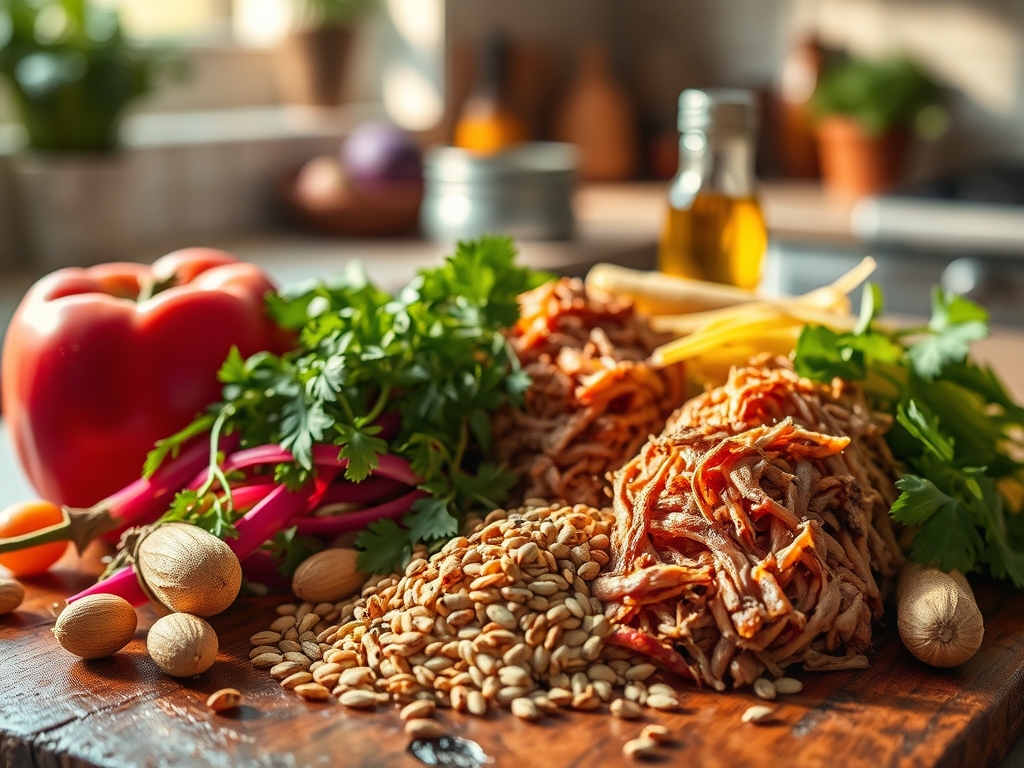
To achieve a professional result, your mise-en-place must be precise. Start with five pounds of chuck roast. This cut is non-negotiable because of its high collagen content. You will also need dried Guajillo chiles for their tea-like sweetness and Ancho chiles for a smoky, raisin-like depth. Grab your digital scale to measure out 40 grams of salt; precision here prevents a flat flavor profile. You will need a head of garlic, a large white onion, and a suite of spices: toasted cumin seeds, dried Mexican oregano, and a single stick of Ceylon cinnamon.
For the liquids, we are using beef bone broth and a splash of apple cider vinegar to provide the necessary acidity to balance the fat. Smart Substitutions: If you cannot find Guajillos, dried New Mexico chiles work in a pinch. If you are avoiding nightshades, a blend of sun-dried tomatoes and smoked paprika can mimic the red chile profile, though the flavor will lean more Mediterranean. Always use a microplane for your garlic and zest to ensure the aromatics melt into the sauce rather than leaving chunky remnants.
The Clock
Efficiency in the kitchen is about managing the Chef's Flow. Your active prep time is approximately 45 minutes. This includes de-seeding chiles, searing the beef, and blending the adobo. The passive cooking time is where the magic happens. In a heavy-bottomed Dutch oven, expect a 3 to 4-hour simmer. If you are using a pressure cooker, you can cut this to 90 minutes, though you sacrifice a bit of the flavor concentration that comes from slow evaporation.
The "Flow" dictates that you hydrate your chiles while you sear the meat. By the time the last batch of beef is browned, your chile soaking liquid is ready for the blender. This overlap ensures your heavy-bottomed skillet never sits empty and your momentum stays high. Plan for a 20-minute resting period after cooking; this is essential for moisture re-absorption.
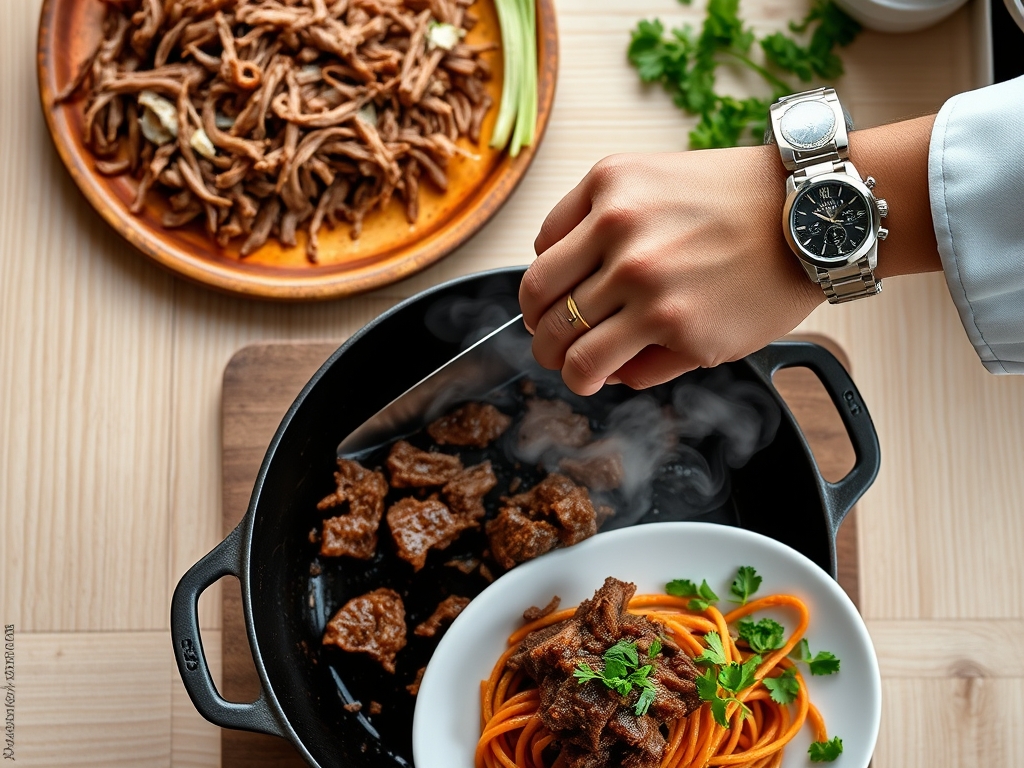
1. The Maillard Sear
Cut your beef into large 3-inch cubes and pat them bone-dry with paper towels. Season aggressively. Heat a thin layer of high-smoke-point oil in your skillet until it shimmers. Sear the beef in batches, ensuring you do not crowd the pan.
Pro Tip: This process, known as the Maillard Reaction, creates hundreds of different flavor compounds as amino acids and sugars react under high heat. If the meat is wet, it will steam rather than sear, robbing you of that deep, savory crust.
2. Chile Hydration and Emulsification
Toast your dried chiles in a dry pan for 60 seconds until fragrant, then submerge them in boiling water for 15 minutes. Transfer the softened chiles to a high-speed blender with a cup of the soaking liquid, spices, and vinegar. Blend until the mixture is completely viscous and smooth.
Pro Tip: Use a saucier to slightly reduce this sauce before adding it to the meat. This "frying the salsa" technique deepens the color and stabilizes the emulsion of oils and water-based liquids.
3. The Deglaze
Once the meat is removed, the bottom of your pan will be covered in "fond," those delicious brown bits. Pour in a splash of broth and use a bench scraper or wooden spoon to scrape every bit of it up.
Pro Tip: Deglazing captures the concentrated proteins that have stuck to the pan. This adds a layer of "umami" that cannot be replicated by store-bought seasonings alone.
4. The Low and Slow Braise
Return the beef to the pot and pour over your chile adobo and remaining broth. The liquid should cover the meat by about two-thirds. Cover with a tight-fitting lid and place in a 300-degree Fahrenheit oven.
Pro Tip: Braising is a form of hydrolysis. Over several hours, the tough collagen in the connective tissue breaks down into gelatin. This is what gives the beef its succulent, mouth-coating texture.
5. The Shredding Technique
Once the beef is fork-tender, remove it from the liquid. Use two large tongs or meat claws to pull the beef apart along the natural grain of the muscle fibers.
Pro Tip: Do not shred the meat while it is piping hot. Allow it to cool slightly so the fibers can retain some of the internal juices. Shredding too early causes the steam to escape, resulting in dry meat.
6. The Sauce Reduction
While the meat is resting, skim the excess fat from the top of the braising liquid. Bring the remaining liquid to a boil and reduce it by half until it coats the back of a spoon.
Pro Tip: Reducing the liquid concentrates the solutes. This creates a more intense flavor profile and ensures the sauce clings to the beef rather than pooling at the bottom of the taco.
7. The Re-Integration
Toss the shredded beef back into the reduced sauce. Taste for seasoning and add a final squeeze of lime juice to brighten the fats.
Pro Tip: This final step utilizes capillary action. The dry, shredded fibers act like tiny straws, pulling the concentrated, flavorful sauce deep into the center of the meat.
The Deep Dive
From a nutritional standpoint, this beef is a powerhouse. A 4-ounce serving provides roughly 35 grams of protein and is rich in Vitamin B12 and Zinc. For those following a Keto lifestyle, this recipe is naturally low-carb. To make it Vegan, substitute the beef with shredded king oyster mushrooms or young jackfruit and use vegetable bouillon; the braising technique remains largely the same.
The Fix-It:
- Meat is tough: You likely didn't cook it long enough. Put it back in. Collagen needs time and heat to transform.
- Sauce is too bitter: This happens if you over-toast the chiles. Add a teaspoon of brown sugar or honey to balance the tannins.
- Too greasy: Use a fat separator or a chilled spoon to remove the orange oil from the top of the sauce.
Meal Prep: To maintain "day-one" quality, store the beef in its sauce. When reheating, do it slowly over low heat with a tablespoon of water. This prevents the proteins from tightening up and becoming rubbery.
The Wrap-Up
Mastering authentic mexican shredded beef recipes is a rite of passage for any serious home cook. It is a lesson in patience, temperature control, and the beautiful chemistry of slow-cooked fats. When you pull that pot out of the oven and see the deep, mahogany sauce bubbling around those tender shards of beef, you will know the effort was worth it. Now, grab some cilantro, find the sharpest onions you can, and get ready to serve a meal that people will talk about for weeks. You have got the science; now go make the magic.
The Kitchen Table
What is the best cut of beef for Mexican shredded beef?
The chuck roast is the gold standard. Its high fat and collagen content break down during the long braise, resulting in the most tender, flavorful shreds compared to leaner cuts like round roast.
Can I make this in a slow cooker?
Yes. Follow the searing and deglazing steps first, then transfer everything to your slow cooker. Cook on "Low" for 8 to 10 hours for the best texture and flavor development.
How do I make the beef spicier?
To increase the heat, leave the seeds in your dried chiles or add 2-3 dried Chiles de Arbol to the blending process. These small chiles pack a significant punch compared to the milder Guajillos.
How long does shredded beef last in the fridge?
Stored in an airtight container with its juices, the beef will stay fresh for up to 4 days. It also freezes beautifully for up to 3 months without losing its structural integrity.