
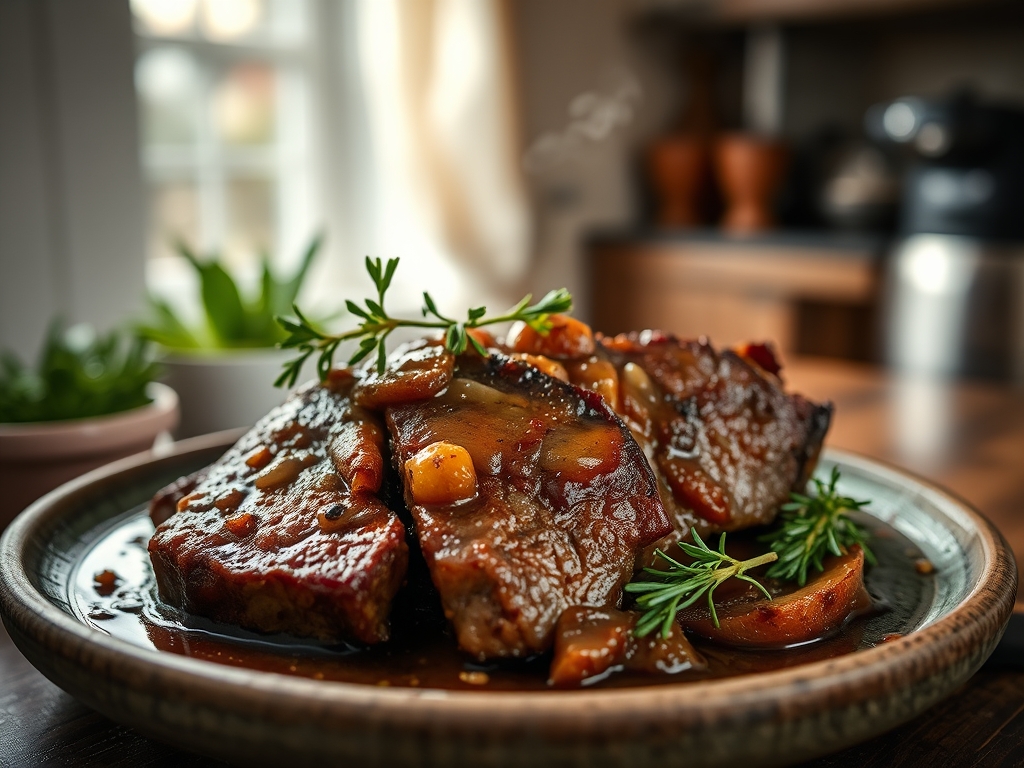
Picture this: the air in your kitchen is thick with the scent of caramelized onions and rich, savory drippings that have been simmering for hours. There is nothing quite like the homecoming of a Sunday afternoon when you know that slow cooker beef recipes pot roast are working their magic behind a ceramic lid. It is the culinary equivalent of a warm hug; however, we are not settling for that gray, stringy meat of yesteryear. We are aiming for a masterpiece that is fork-tender yet structurally sound, bathed in a sauce so glossy it reflects the light.
The secret to elevating this humble classic lies in the intersection of patience and molecular chemistry. Most home cooks treat the slow cooker as a dump-and-go vessel, but we are going to treat it like a precision instrument. By understanding how connective tissue transforms into gelatin and how acids brighten heavy fats, you will turn a basic chuck roast into a five-star experience. Grab your favorite apron and a glass of wine; we are about to overhaul your comfort food game with professional techniques that ensure every bite is a revelation.
The Gathers:
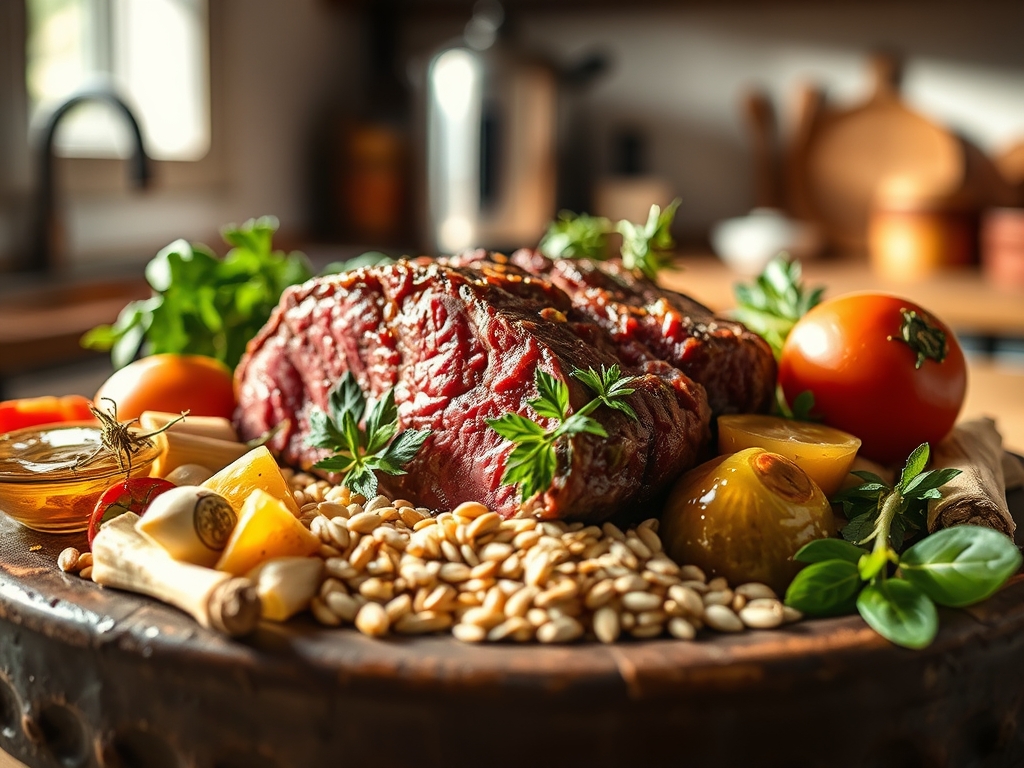
Before we apply heat, we must curate our palette. Start with a three-pound chuck roast, specifically looking for the longissimus dorsi and complexus muscles. You want heavy marbling; those white flecks of intramuscular fat are the "internal basting" mechanism that prevents dryness. For the aromatics, gather whole carrots, yellow onions, and celery. Do not chop them into tiny bits; we want large, rustic chunks that can withstand an eight-hour thermal bath without turning into mush.
Your pantry staples require a glow-up too. Reach for high-quality beef bone broth, which contains natural collagen for a more viscous mouthfeel. You will also need tomato paste for umami depth, fresh thyme, rosemary, and bay leaves. Use a microplane to zest a bit of garlic directly into the mix for a piquant punch. For smart substitutions, if you are out of red wine for deglazing, a splash of balsamic vinegar or Worcestershire sauce provides that essential acidity to cut through the richness of the rendered fat. Always use a digital scale to measure your salt; precise salinity is the difference between "good" and "addictive."
The Clock
Efficiency in the kitchen is all about the Chef's Flow. Your active preparation time will take approximately 30 minutes. This includes the "hard work" of searing and vegetable prep. Once the lid is closed, the slow cooker takes over for either four to five hours on high or eight to nine hours on low.
I always recommend the "low and slow" approach. High heat can cause the muscle fibers to contract too violently, squeezing out moisture before the collagen has a chance to melt. Think of it as a marathon, not a sprint. If you start your prep at 9:00 AM, you will have a perfectly rested roast by 6:00 PM. This schedule allows for a crucial 20-minute resting period at the end, which is vital for moisture retention.
The Masterclass:
1. The Maillard Sear
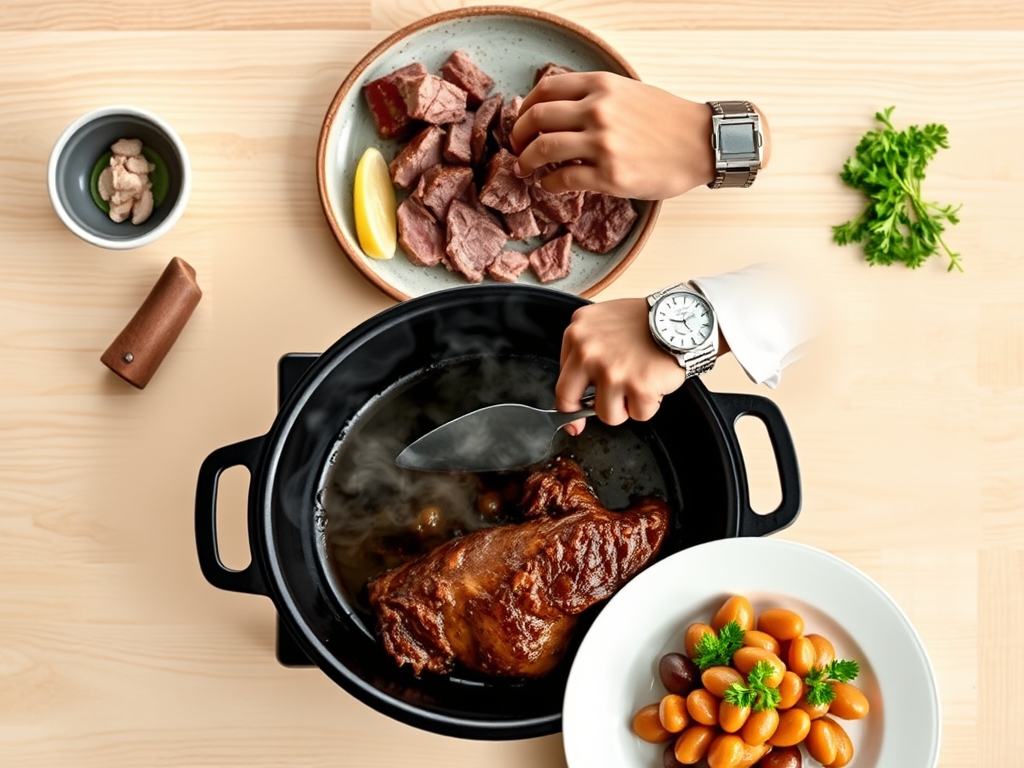
Pat your beef bone-dry with paper towels. Season aggressively with kosher salt. Heat a heavy-bottomed skillet over medium-high heat with a high-smoke-point oil. Use tongs to press the meat into the pan, searing every single side until a deep, mahogany crust forms.
Pro Tip: This is the Maillard Reaction. It is a chemical reaction between amino acids and reducing sugars that creates hundreds of different flavor compounds. Without this step, your roast will lack the savory complexity found in professional slow cooker beef recipes pot roast.
2. Deglaze the Fond
After removing the meat, you will see brown bits stuck to the pan. This is "fond," or culinary gold. Pour in a half-cup of red wine or broth and use a bench scraper or wooden spoon to loosen those bits while the liquid bubbles.
Pro Tip: Deglazing captures the caramelized proteins that would otherwise be wasted. This liquid becomes the base of your braising medium, ensuring the sauce has a concentrated, roasted profile rather than a "boiled" taste.
3. Layer the Aromatics
Place your large-cut vegetables at the bottom of the slow cooker. These act as a natural rack, lifting the meat so it is not submerged in liquid, which allows for more even heat distribution.
Pro Tip: This prevents thermal shock. By elevating the meat, you allow the circulating steam to cook the roast gently. The vegetables also absorb the dripping fats, undergoing a slow confit process that makes them incredibly flavorful.
4. The Low and Slow Simmer
Add your deglazing liquid, herbs, and enough broth to reach halfway up the side of the roast. Do not drown the meat; we are braising, not boiling. Set the dial to low.
Pro Tip: This long duration allows for collagen denaturation. At around 160 degrees Fahrenheit, tough connective tissue begins to transform into silky gelatin. This is why a "tough" cut of meat eventually becomes tender enough to cut with a spoon.
5. The Emulsified Sauce
Once the meat is done, remove it and the vegetables. Strain the remaining liquid into a saucier. Whisk in a cornstarch slurry or a knob of cold butter to thicken the liquid into a glossy veloute.
Pro Tip: Using cold butter at the end is called monter au beurre. The fat molecules encapsulate the liquid, creating a stable emulsion that coats the back of a spoon and provides a luxurious texture.
6. The Rest and Carve
Transfer the roast to a cutting board and tent it loosely with foil for at least 15 minutes before slicing against the grain.
Pro Tip: This allows for reabsorption of juices. During cooking, heat pushes moisture toward the center. Resting allows the fibers to relax and redistribute that liquid, ensuring the meat stays succulent after it is sliced.
The Deep Dive
From a macro perspective, pot roast is a protein powerhouse. A standard serving offers roughly 35 grams of protein and a healthy dose of iron and B12. To keep it Keto, simply swap the potatoes for radishes or cauliflower florets; they absorb the beef flavor beautifully. For a Gluten-Free version, ensure your beef broth is certified and use arrowroot powder instead of flour for thickening.
If you run into trouble, don't panic. If your meat is "tough," it likely just needs more time; the collagen hasn't fully melted yet. If the sauce is too salty, add a splash of heavy cream or a squeeze of lemon juice to balance the ions. If the meat is dry, you likely used a cut that was too lean; next time, ensure you have a thick fat cap. For meal prep, reheat your leftovers in a covered dish with a splash of broth at 300 degrees. This prevents the proteins from tightening up and maintains that "day-one" silkiness.
The Wrap-Up
Mastering slow cooker beef recipes pot roast is about more than just filling a pot; it is about respecting the science of the sear and the patience of the simmer. When you use the right tools, like a heavy-bottomed skillet and a digital scale, you transition from a cook to a technician of flavor. This dish is meant to be shared, so pile those glistening carrots high, ladle on that emulsified sauce, and enjoy the fruits of your scientific labor. Your kitchen never smelled so good!
The Kitchen Table
Why is my pot roast tough after 8 hours?
It likely needs more time or more heat. If the collagen hasn't reached the melting point, the meat remains rubbery. Check the internal temperature; it should be around 195 to 205 degrees Fahrenheit for "fall-apart" tenderness.
Can I put frozen beef in the slow cooker?
It is not recommended for safety. Frozen meat stays in the "danger zone" (40-140 degrees Fahrenheit) for too long, risking bacterial growth. Always thaw your beef completely in the refrigerator before searing and slow cooking.
Do I have to brown the meat first?
While not strictly required for safety, browning is essential for flavor. The Maillard reaction creates deep, savory notes and a complex aroma that raw simmering cannot replicate. It is the difference between a bland meal and a gourmet one.
How much liquid should I add?
Only fill the slow cooker about halfway up the meat. The beef and vegetables will release their own juices as they cook. Too much liquid results in a diluted sauce and "boiled" meat texture rather than a rich braise.