
Imagine the scent of toasted coriander and smoldering peppercorns swirling through your kitchen as a salt-cured brisket transforms under high heat. While most people settle for the soggy, lackluster texture of a slow-cooker soak, we are chasing the ultimate prize: a crust so crisp it crackles and a center that melts like butter. Exploring roasted corned beef recipes is about more than just a holiday tradition; it is a masterclass in moisture retention and surface chemistry. We are moving away from the grey, boiled slabs of the past and leaning into the glorious world of dry-heat roasting. This method allows us to harness the power of the Maillard reaction, turning those surface proteins into a complex tapestry of savory, nutty flavors. Grab your favorite apron and clear some counter space. We are about to elevate this humble cut of beef into a centerpiece that demands attention. By the time we are done, you will understand exactly why the oven is a superior vessel for this brined beauty.
The Gathers:
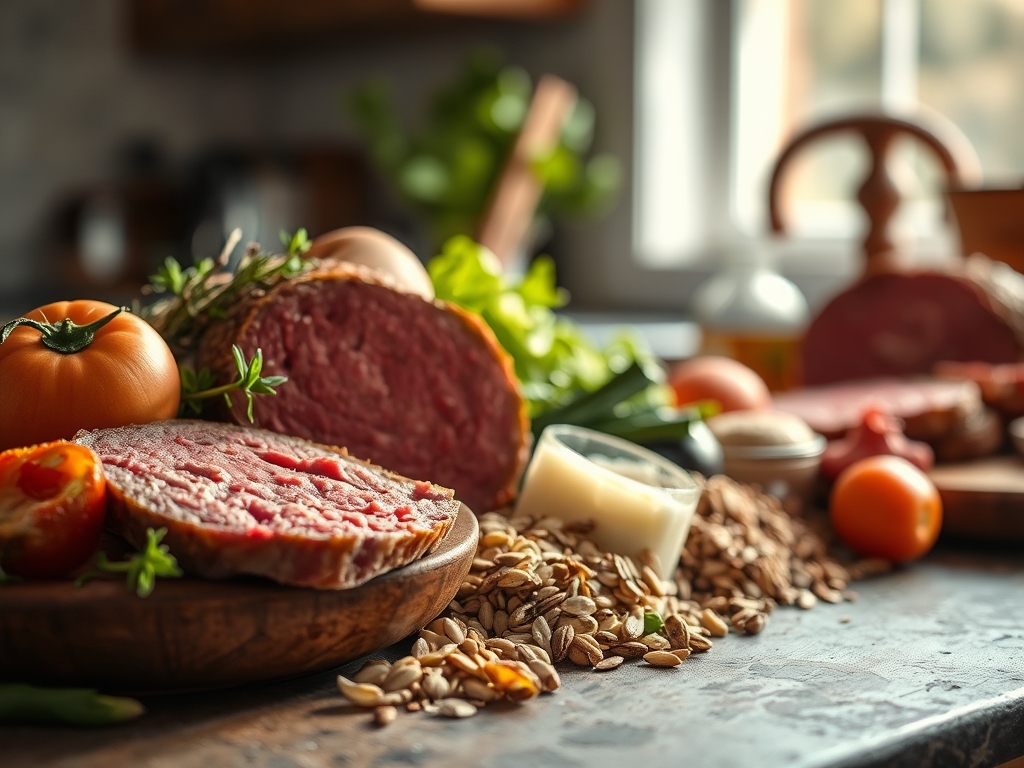
Before we ignite the flame, we must assemble our mise-en-place with surgical precision. Start with a four-pound corned beef brisket, preferably the point cut for its higher fat content, which will render beautifully during the long roast. You will need a digital scale to measure out your spice rub components: whole black peppercorns, mustard seeds, coriander, and perhaps a touch of clove for a piquant aromatic profile. Use a microplane to zest fresh garlic into a paste, ensuring it integrates into your glaze without burning.
For the liquid element, we require a viscous honey or maple syrup to act as a binder for the spices. If you want to lean into a more traditional profile, grab a bottle of stout; the malt sugars will infuse the meat with a deep, earthy complexity. Smart substitutions are your best friend here. If you are avoiding refined sugars, a pureed date paste provides the same sticky surface tension. For those who find the brine too aggressive, a quick soak in cold water for two hours prior to roasting will leach excess sodium without sacrificing the structural integrity of the muscle fibers.
The Clock
The "Chef's Flow" is all about timing and temperature management to avoid the dreaded "stall." Plan for approximately 20 minutes of active prep time, which includes rinsing, patting the meat bone-dry, and applying your rub. The roasting phase typically requires 50 to 60 minutes per pound at a steady 325 degrees Fahrenheit. However, the final 15 minutes are the most critical; this is when we crank the heat to aerate the fat cap and achieve that signature crunch. Total time from fridge to table should be roughly four hours. Always factor in a 20-minute rest period at the end; this is non-negotiable for moisture redistribution.
The Masterclass
1. The Desalination Rinse
Remove the brisket from its packaging and rinse it under cold, filtered water. Use a lint-free kitchen towel to pat every square inch dry. Moisture is the enemy of the crust; if the surface is damp, the meat will steam rather than roast.
Pro Tip: This step utilizes osmotic diffusion. By rinsing the surface, you remove the concentrated exterior brine, preventing the salt from over-extracting moisture from the muscle cells during the initial phase of cooking.
2. The Spice Tempering
Toast your whole spices in a heavy-bottomed skillet over medium heat until they become fragrant. Use a mortar and pestle to crack them coarsely. Apply a thin layer of Dijon mustard to the beef as an emulsifier, then press the spices firmly into the meat.
Pro Tip: Toasting spices triggers volatile oil release. These aromatic compounds are fat-soluble, meaning they will penetrate the rendering fat cap and flavor the meat from the outside in as it roasts.
3. The Low and Slow Foundation
Place the brisket fat-side up on a wire rack set inside a roasting pan. Pour an inch of beef stock or stout into the bottom of the pan, making sure the liquid does not touch the meat. Cover tightly with heavy-duty foil to create a pressurized steam environment.
Pro Tip: This stage focuses on collagen conversion. By maintaining a moist environment under the foil, we slowly break down tough connective tissues into gelatin without drying out the lean protein.
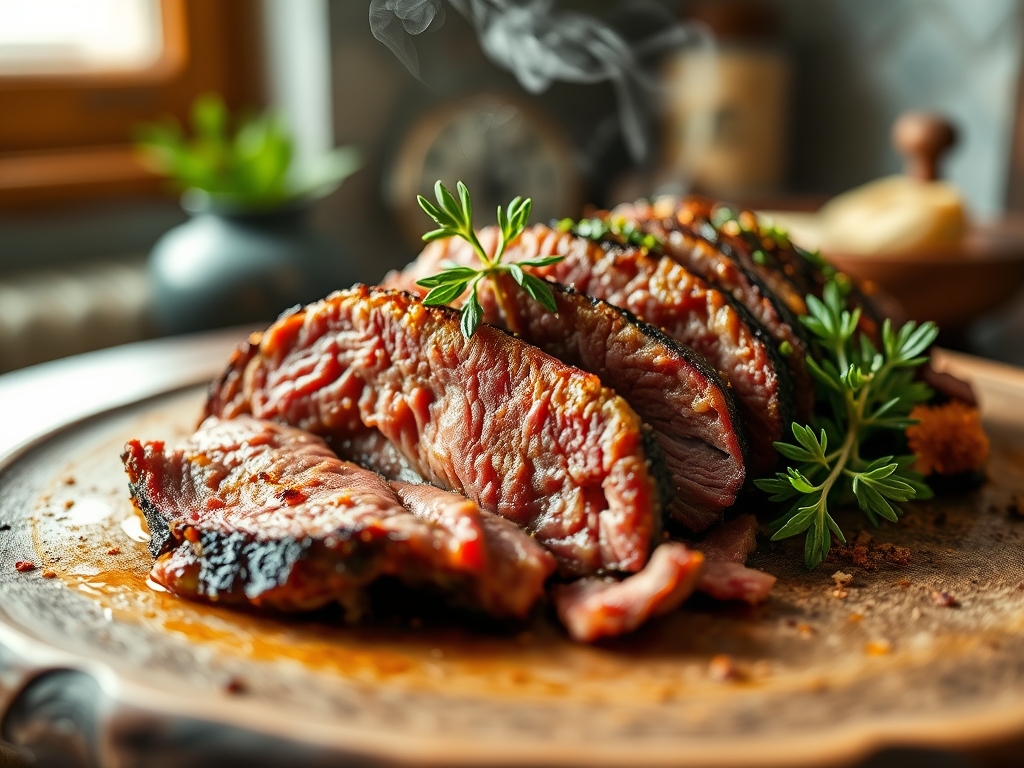
4. The Unveiling and Glazing
After three hours, remove the foil. Use a saucier to warm your glaze of honey, vinegar, and stone-ground mustard. Brush a generous layer over the fat cap. Increase the oven temperature to 425 degrees Fahrenheit to begin the final transformation.
Pro Tip: This step initiates the Maillard reaction. The sugars in the glaze react with the amino acids in the beef at high temperatures, creating hundreds of new flavor compounds and a deep mahogany color.
5. The Fat Cap Rendering
Watch the brisket closely through the oven window. The fat should begin to bubble and turn translucent, eventually crisping into a golden "bark." Use tongs to gently rotate the pan for even heat distribution from the oven's heating elements.
Pro Tip: This is lipid oxidation at its finest. As the fat renders, it bastes the meat naturally, while the high heat dehydrates the very top layer to create a textural contrast against the tender interior.
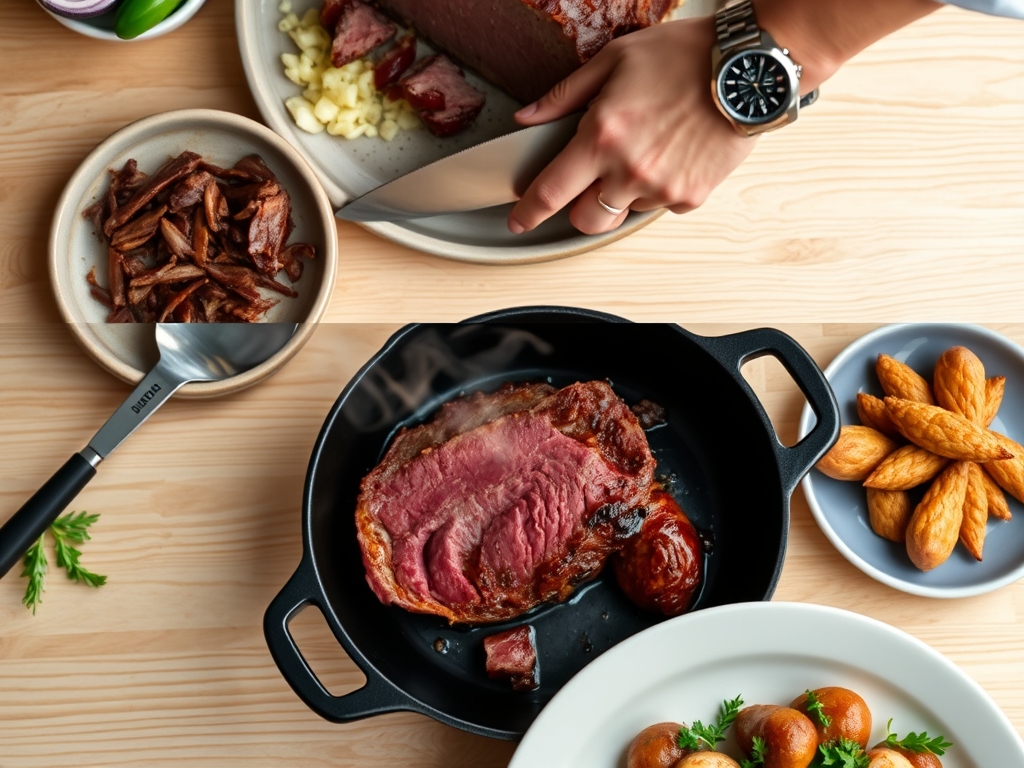
6. The Carryover Rest
Transfer the brisket to a wooden carving board using a bench scraper for stability. Tent it loosely with foil and let it sit for at least 20 minutes. This allows the internal pressure to stabilize before you make your first cut.
Pro Tip: This accounts for thermal carryover. The internal temperature will rise by 5 to 10 degrees even after the meat is removed from the oven, ensuring the center reaches perfect tenderness without overcooking the edges.
The Deep Dive
From a nutritional standpoint, roasted corned beef is a powerhouse of protein and B vitamins, though it is admittedly high in sodium. To balance the macros, serve it alongside roasted cruciferous vegetables which provide fiber to aid digestion. For a keto-friendly version, swap the honey glaze for a brown butter and herb wash. If you are looking for a gluten-free approach, ensure your "stout" substitution is a certified GF ale or simply use a rich bone broth to deglaze the pan.
If you encounter the "Tough Texture Pitfall," it usually means the collagen hasn't fully melted; fix this by returning the meat to the oven with a splash of liquid under tight foil for another 30 minutes. If the meat is "Too Salty," serve it with an acidic element like pickled onions or a lemon-heavy gremolata to mask the sodium. For "Burnt Spices," simply scrape the charred bits off and apply a fresh, warm glaze before serving. To reheat, use a sous-vide circulator or a low-temperature oven with a splash of water to maintain "day-one" succulence.
The Wrap-Up
You have officially graduated from the school of soggy brisket! By focusing on the science of the sear and the patience of the rest, you have turned a standard grocery store find into a culinary masterpiece. Roasted corned beef recipes are truly the gift that keeps on giving, especially when you consider the leftover potential for hash or sandwiches. Remember, the secret is in the dry surface and the high-heat finish. Go forth, use your tools with confidence, and enjoy the crackle of that perfect crust. You have earned every savory bite!
The Kitchen Table
How do I slice corned beef so it is not stringy?
Always slice against the grain. Locate the direction the muscle fibers are running and cut perpendicular to them. This shortens the fibers, making every bite incredibly tender rather than chewy or fibrous. Use a long, sharp carving knife for clean passes.
Can I roast corned beef without a rack?
A rack is preferred for 360-degree heat circulation, but you can use a bed of thick-cut onions, carrots, and celery. This lifts the meat off the pan bottom, preventing it from stewing in its own juices while adding aromatic flavor.
What is the best internal temperature for roasted corned beef?
Target an internal temperature of 190 to 195 degrees Fahrenheit. While "done" at 145 degrees, the higher temperature is necessary to fully break down the tough connective tissues, resulting in a "fork-tender" texture that pulls apart easily.
Why did my corned beef turn grey?
Grey meat usually results from steaming rather than roasting. Ensure you pat the meat completely dry before cooking and do not skip the final high-heat glazing step. The pink color comes from the curing salts, but the brown crust comes from heat.