
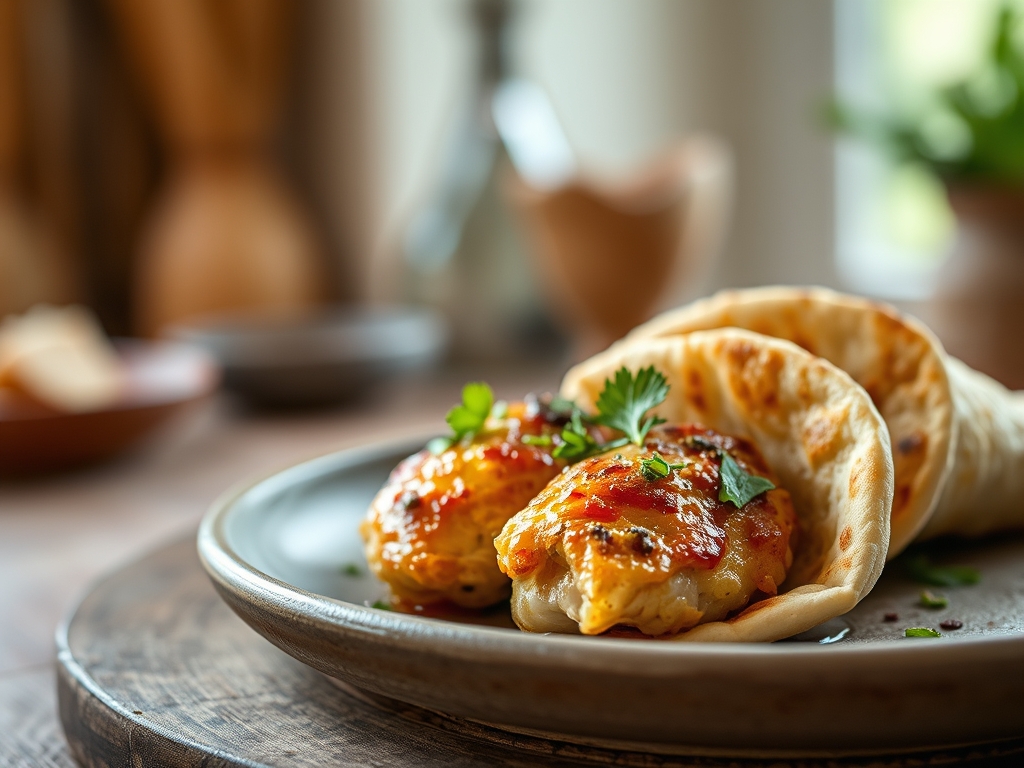
Imagine the first bite of a warm, pillowy pocket of bread yielding to a charred, succulent piece of poultry. The symphony of textures in pita chicken recipes is not an accident; it is a calculated result of thermal dynamics and acid-base balance. When you master the art of the pita, you are not just making lunch. You are engineering the perfect handheld vessel for global flavor profiles.
The beauty of pita chicken recipes lies in their versatility. Whether you are craving the zing of a Greek yogurt marinade or the deep, earthy notes of a Middle Eastern spice blend, the chicken serves as a blank canvas for high-heat caramelization. We are moving beyond the soggy, uninspired wraps of your past. We are diving into a world where the chicken is crisp, the sauce is viscous, and the pita is toasted to an artisanal standard.
By understanding the molecular interaction between the proteins and the heat, you can elevate a simple weekday meal into a culinary event. We are going to explore ten distinct ways to fill these pockets, ranging from classic lemon-herb to spicy harissa-honey. Grab your favorite heavy-bottomed skillet and let us get to work.
The Gathers:
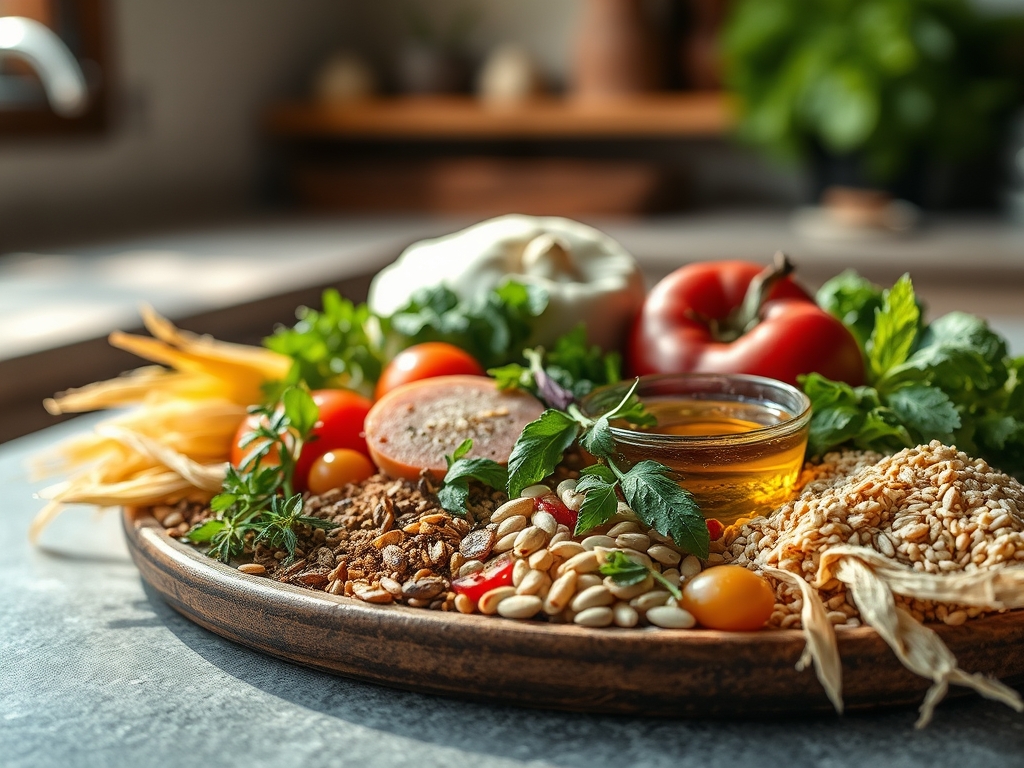
To execute these pita chicken recipes with precision, your mise-en-place must be flawless. Start with high-quality chicken thighs; the higher fat content compared to breasts ensures the meat remains moist even after the Maillard reaction takes place. You will need a digital scale to ensure your spice ratios are consistent.
Your aromatics are the foundation. Fresh garlic, ginger, and shallots should be prepped using a microplane to create a fine paste that integrates into the marinade without burning. For the fats, choose an oil with a high smoke point, such as avocado oil, to allow for intense searing. The "Smart Substitutions" are equally vital. If you are avoiding gluten, swap the traditional wheat pita for a cassava-based alternative. For those looking to lower the fat content, Greek yogurt acts as a perfect substitute for mayonnaise in any creamy sauce, providing a piquant tang and a boost of probiotics.
Essential tools for this stage include a sharp chef's knife for uniform dicing and a bench scraper to efficiently move your ingredients from the cutting board to the pan. Remember, the goal is to create a harmonious blend of textures: crunchy vegetables, tender chicken, and a smooth, emulsified sauce.
The Clock:
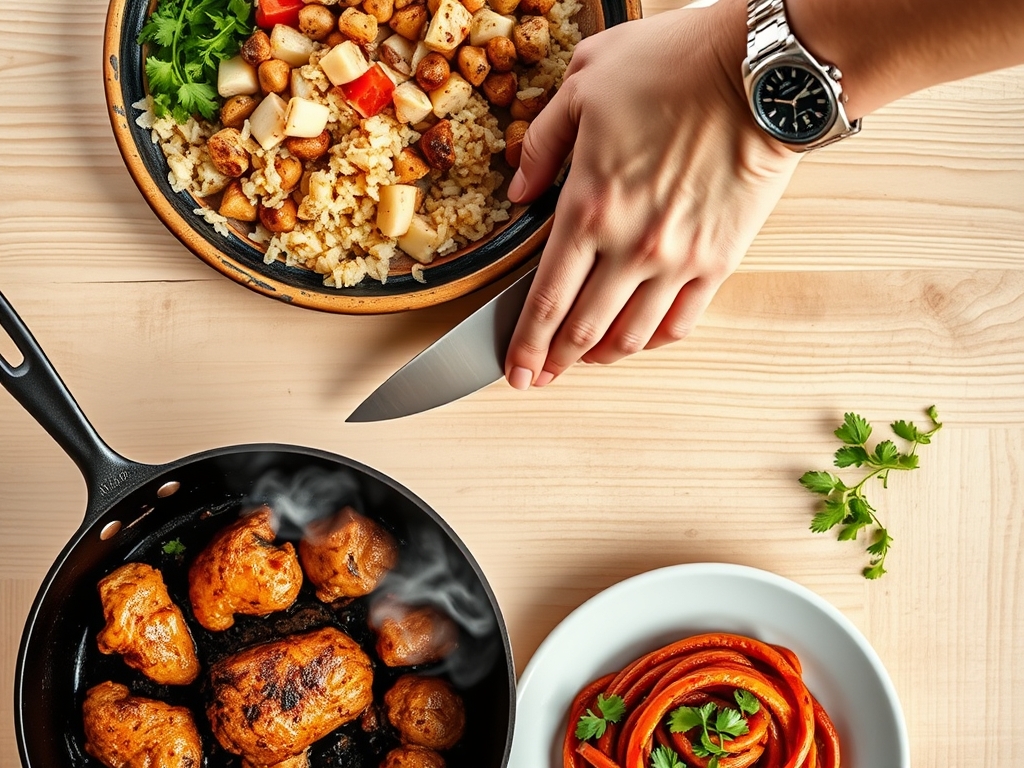
The "Chef's Flow" is all about maximizing efficiency through parallel processing. Total preparation time for most pita chicken recipes sits at approximately 20 minutes, with an additional 15 minutes for cooking. However, the secret to depth of flavor is the marination phase. Ideally, you want to infuse the chicken for at least 30 minutes, though four hours is the sweet spot for enzymatic breakdown.
While the chicken marinates, you should be prepping your cold components. Slice your cucumbers, tomatoes, and red onions with precision. This ensures that by the time your heavy-bottomed skillet is screaming hot, your only task is to monitor the heat. The active cooking time is short because we are using high heat to achieve a rapid sear. This flow prevents the pita from sitting too long and becoming limp, ensuring every element is at its peak temperature and texture when served.
The Masterclass:
1. The Marinade Infusion
Place your chicken in a glass bowl and coat it with your chosen aromatics, acids, and oils. Use your hands to massage the mixture into the meat, ensuring every fiber is coated.
Pro Tip: The acid in the marinade (like lemon juice or vinegar) denatures the proteins, allowing moisture to penetrate deeper into the muscle fibers for a more tender result.
2. The High-Heat Sear
Heat your heavy-bottomed skillet until the oil shimmers. Place the chicken in a single layer, avoiding overcrowding. Use tongs to flip the meat only once a deep, golden-brown crust has formed.
Pro Tip: This is the Maillard reaction at work; amino acids and reducing sugars rearrange to create hundreds of different flavor compounds and that signature savory crust.
3. The Deglaze and Rest
Once the chicken reaches an internal temperature of 165 degrees Fahrenheit, remove it from the pan. Add a splash of water or stock to the skillet to loosen the browned bits (the fond).
Pro Tip: Resting the meat for five minutes allows for thermal carryover and lets the juices redistribute, ensuring the liquid stays in the chicken rather than soaking your pita.
4. The Pita Aeration
Briefly toast your pita bread directly over a low gas flame or in a dry pan. You want the bread to puff slightly and become pliable.
Pro Tip: Heating the bread causes the internal moisture to turn into steam, which softens the gluten structure and makes the pocket easier to open without tearing.
5. The Emulsified Assembly
Spread a thick layer of sauce (like tahini or tzatziki) inside the pocket before adding the chicken and vegetables. Finish with a sprinkle of fresh herbs and a squeeze of citrus.
Pro Tip: The fats in the sauce create a hydrophobic barrier, preventing the vegetable juices from making the bread soggy too quickly.
The Deep Dive:
When it comes to nutrition, pita chicken recipes are a powerhouse of lean protein and complex carbohydrates. A standard serving provides roughly 35 grams of protein and 40 grams of carbohydrates. To optimize for specific diets, consider these swaps: for Keto, replace the pita with large romaine lettuce leaves; for Vegan versions, use oyster mushrooms which mimic the fibrous texture of chicken when seared.
The "Fix-It" guide for common pitfalls:
- The Soggy Bottom: If your pita is falling apart, your vegetables are too wet. Salt your cucumbers and tomatoes 10 minutes before assembly and pat them dry to remove excess moisture.
- Tough Chicken: This usually happens from overcooking. Use a digital thermometer to pull the chicken at 160 degrees; the temperature will rise to the safe 165 during the rest.
- Bland Flavor: If it tastes flat, you lack acidity. A final hit of lemon juice or pickled red onions will brighten the entire profile.
For meal prep, store the chicken and vegetables in separate airtight containers. To reheat, use a toaster oven for the chicken to maintain the crust; microwaving will make it rubbery. Heat the pita separately for 15 seconds wrapped in a damp paper towel to restore its elasticity.
The Wrap-Up:
You are now equipped with the technical knowledge to turn simple ingredients into a gourmet experience. These pita chicken recipes are more than just a quick fix; they are a masterclass in balancing heat, texture, and acidity. By focusing on the science of the sear and the precision of the prep, you ensure that every meal is consistent and crave-worthy. Go ahead and experiment with different spice rub combinations and artisanal sauces. Your kitchen is your lab, and the results are going to be delicious.
The Kitchen Table:
How do I prevent my pita bread from tearing?
Steam the pita briefly in the microwave under a damp paper towel for 15 seconds. This hydrates the gluten, making the bread pliable enough to open without cracking or splitting the delicate edges.
Can I use chicken breast instead of thighs?
Yes, but you must be vigilant. Chicken breast lacks the intramuscular fat of thighs, so it dries out quickly. Use a yogurt-based marinade to provide a protective layer and prevent protein strands from tightening too much.
What is the best way to get a char indoors?
Use a cast-iron skillet and high-smoke-point oil. Ensure the chicken is patted dry before it hits the pan; surface moisture creates steam, which prevents the Maillard reaction from creating that essential brown crust.
How long can I store the marinated chicken?
Raw chicken in an acidic marinade should not exceed 24 hours. The acid will eventually over-denature the proteins, turning the texture mushy. For the best structural integrity, aim for a four to six-hour window.