

Close your eyes and imagine a haze of blue hickory smoke drifting across a roadside stand on a humid Maryland afternoon. The air is thick with the scent of char and iron. This is the sensory heart of the Mid-Atlantic. When you dive into authentic baltimore pit beef recipes, you are not just making a sandwich; you are mastering the art of high-heat crusting and razor-thin slicing. Unlike the low-and-slow traditions of Texas or Carolina, this is a fast, aggressive cook that demands precision. We are looking for a charred, almost blackened exterior that gives way to a cool, ruby-red center. It is a study in contrasts: hot and cold, soft and crunchy, piquant and savory. To get it right, you have to embrace the flame. We are going to skip the fancy marinades and focus on the chemistry of the sear. Grab your apron and a cold drink; we are about to turn your backyard into a legendary Baltimore institution.
The Gathers:
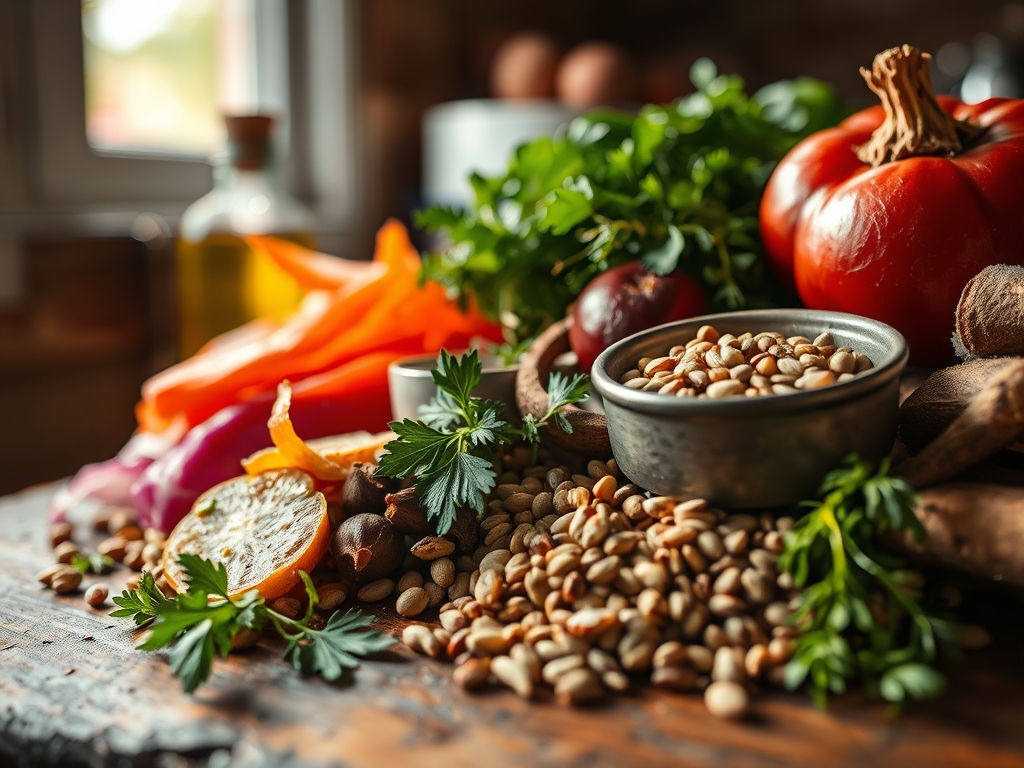
The foundation of this recipe is the Top Round or Bottom Round roast. You want a lean, muscular cut with a tight grain. Unlike a ribeye, which relies on intramuscular fat, pit beef relies on the myoglobin and moisture within the muscle fibers to stay juicy. You will also need a high-quality kosher salt; the coarse grains are essential for creating a jagged surface area that encourages the Maillard reaction. For the signature "Tiger Sauce," gather your heavy-duty whisk and a stainless steel bowl to emulsify fresh horseradish, mayonnaise, and a splash of lemon juice.
Smart Substitutions: If you cannot find a top round, a Eye of Round works beautifully for those who prefer a tighter, more uniform slice. For my plant-based friends, a large, compressed block of Lion's Mane mushroom can be seasoned and charred similarly, though the cooking time will drop significantly. If you are avoiding nightshades, swap the traditional paprika in the rub for toasted cumin and ground coriander to maintain that earthy, smoky depth without the heat. Use a digital scale to measure your spices by weight rather than volume; it ensures your crust is never over-salted.
The Clock:
Mastering the "Chef's Flow" is about managing temperature, not just time. Your total active prep time is roughly 20 minutes, mostly spent on trimming the silver skin and whisking the sauce. However, the dry-brining phase is the most critical window. You need at least 2 hours, though 24 hours is the gold standard for deep salt penetration.
The actual cook time is surprisingly fast; usually 40 to 55 minutes depending on the BTU output of your grill. The final, non-negotiable phase is the resting period. You must allow at least 20 minutes for the internal juices to redistribute. If you slice too early, the cellular walls will collapse and dump all that precious moisture onto your cutting board. Plan for a 3-hour total window from fridge to table.
The Masterclass:
1. The Surface Preparation
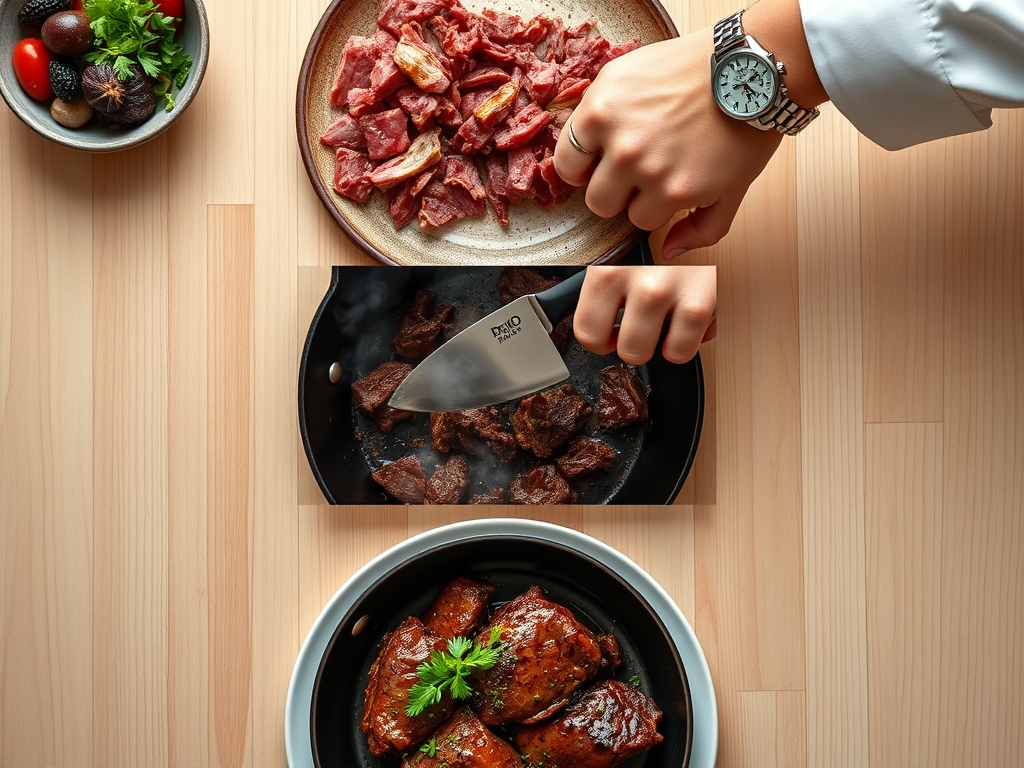
Start by using a sharp boning knife to remove any excess exterior fat or silver skin. We want the heat to hit the protein directly. Pat the meat bone-dry with paper towels; moisture is the enemy of a good sear. Apply a generous coating of your dry rub, pressing it firmly into the muscle fibers.
Pro Tip: This is known as hygroscopic pull. The salt draws moisture out of the meat, dissolves into a brine, and is then reabsorbed. This seasons the interior of the roast and breaks down tough proteins for a more tender bite.
2. Establishing the Heat Zone
Set up your grill for two-zone cooking. You want a screaming-hot direct heat zone and a cooler indirect zone. Use heavy-duty tongs to place the roast directly over the coals. We are looking for an aggressive char on all sides.
Pro Tip: This stage triggers pyrolysis, where the sugars and amino acids on the surface undergo a complex chemical change. This creates hundreds of new flavor compounds that give the meat its distinctive "grilled" aroma.
3. The Indirect Finish
Once the exterior is dark and crusty, move the beef to the cooler side of the grill. Close the lid to create an oven-like environment. Use a digital probe thermometer to monitor the internal temperature. You are aiming for exactly 125 degrees Fahrenheit for a perfect medium-rare.
Pro Tip: Utilize thermal carryover. Once you remove the meat from the heat, the internal temperature will continue to rise by 5 to 7 degrees. Pulling it at 125 ensures it peaks at a succulent 132.
4. The Tiger Sauce Emulsification
While the meat rests, grab a saucier or mixing bowl. Combine extra-hot horseradish, mayonnaise, and black pepper. Whisk vigorously to aerate the mixture, making it light and spreadable.
Pro Tip: The vinegar in the mayo acts as a surfactant, helping to suspend the spicy mustard oils from the horseradish. This creates a stable emulsion that coats the palate and cuts through the richness of the beef.
5. The Shave
This is the secret of secrets. Use a long slicing knife or an electric meat slicer to cut the beef against the grain into paper-thin ribbons. The thinner the slice, the more tender the sandwich feels.
Pro Tip: Slicing against the grain shortens the muscle fibers (sarcomeres). This means your teeth have to do less work to break the meat down, creating a "melt-in-your-mouth" texture even with leaner cuts.
The Deep Dive:
Macro Nutrition: A standard 6-ounce serving of pit beef is a protein powerhouse, offering roughly 42g of protein and 12g of fat. It is naturally low-carb, making it a favorite for those tracking macros. To keep it Keto-friendly, ditch the kaiser roll and serve the beef over a bed of bitter greens with extra Tiger Sauce. For a Gluten-Free version, ensure your horseradish is pure and serve on a GF bun or wrapped in large butter lettuce leaves.
The Fix-It:
- The Meat is Tough: You likely sliced with the grain. Rotate the roast 90 degrees and try again; the difference is night and day.
- The Crust is Bitter: This happens if your spices burn. Move the meat to indirect heat sooner and keep the lid closed to prevent oxygen from fueling flare-ups.
- The Sauce is Too Runny: Your horseradish had too much brine. Strain the horseradish through a fine-mesh sieve before adding it to the mayo to maintain a viscous consistency.
Meal Prep & Reheating: To maintain "day-one" quality, do not reheat the beef in a microwave. The high-frequency waves will tighten the proteins and turn your beef into rubber. Instead, use a sous-vide bag in warm water or flash-sear the cold slices in a heavy-bottomed skillet for 10 seconds per side just to take the chill off.
The Wrap-Up:
There you have it; the blueprint for a perfect Baltimore feast. It is all about the marriage of high-heat chemistry and the precision of the shave. Whether you are serving this at a backyard bash or just leveling up your weeknight sandwich game, remember that the "pit" is a state of mind. Keep your knives sharp, your horseradish hot, and your beer cold. You have officially graduated from the school of Baltimore pit beef recipes. Now, go forth and char!
The Kitchen Table:
What is the best cut of meat for pit beef?
The traditional choice is Top Round. It is lean, affordable, and has a consistent grain structure that allows for the signature paper-thin slices required for an authentic Baltimore sandwich texture.
How do I get the meat thin without a slicer?
Chill the cooked and rested meat in the fridge for an hour before slicing. Cold meat is firmer, allowing you to use a very sharp carving knife to shave off translucent ribbons more easily.
Why is my pit beef grey instead of pink?
You likely overcooked it or skipped the rest. Ensure you pull the meat at an internal temperature of 125 degrees Fahrenheit and let it rest for 20 minutes to lock in the juices.
What goes on a traditional Baltimore pit beef sandwich?
Keep it simple with a toasted Kaiser roll, a massive pile of thinly sliced beef, raw white onions for crunch, and a generous slathering of spicy horseradish "Tiger Sauce."