

Imagine the precise moment your heavy-bottomed skillet hits the flame; the scent of rendering fat fills the air as you embark on the ultimate quest for comfort. We are diving deep into the world of baked pasta with ground beef recipes, where culinary science meets pure, unadulterated soul. This is not just dinner; it is an architectural masterpiece of gluten, protein, and molten cheese.
The magic of these dishes lies in the Maillard reaction. When you sear that ground beef, you are not just cooking it; you are creating hundreds of different flavor compounds that simply do not exist in raw meat. We are going to harness that chemical energy to build ten distinct variations of the classic bake. Whether you are craving a piquant chili-mac hybrid or a sophisticated bechamel-drenched rigatoni, the foundational physics remains the same. We are looking for that perfect ratio of viscous sauce to al dente starch. By the time we are done, you will understand exactly how to manipulate moisture levels and thermal carryover to ensure your leftovers never turn into a soggy mess. Grab your apron; we have some molecules to move.
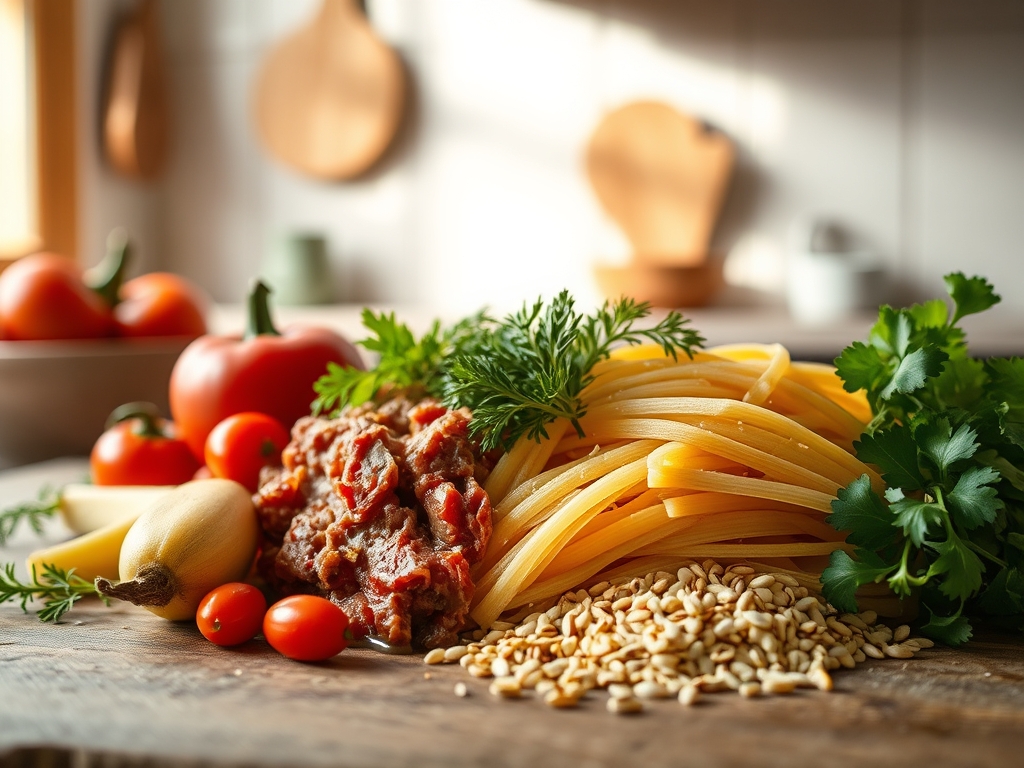
The Gathers:
Before we ignite the range, we must assemble our mise-en-place with surgical precision. Use a digital scale to ensure your pasta-to-meat ratio is exactly 1:1 for the most indulgent experience. You will need high-fat ground beef (80/20 is the gold standard for flavor) to ensure enough lipid content to emulsify your sauce. For the aromatics, reach for a sharp chef knife to finely mince your shallots and garlic; the smaller the surface area, the faster they release their essential oils into the fat.
Your dairy must be high-quality. We are talking whole-milk mozzarella for that iconic stretch and a block of aged Parmesan. Never buy the pre-shredded stuff; it is coated in potato starch or cellulose to prevent clumping, which will absolutely ruin the silky texture of your melt. Use a microplane to grate your cheese fresh for maximum surface area and meltability.
Smart Substitutions: If you are looking to lighten the load without sacrificing the "mouthfeel," swap half the beef for finely pulsed cremini mushrooms. They provide a similar umami profile and texture when browned. For a gluten-free alternative, choose a sturdy brown rice or chickpea pasta, but reduce your boiling time by two minutes to account for the secondary cook in the oven.
The Clock: Timing the Masterpiece
Total time for these baked pasta with ground beef recipes generally clocks in at 60 minutes. Your "Chef's Flow" is critical here: 15 minutes for prep, 20 minutes for the stovetop "build," and 25 minutes for the oven finish. While your water reaches a rolling boil, you should be rendering your beef. Never wait for the pasta to finish before starting your sauce. The goal is to toss the pasta into the sauce the second it hits "very al dente" to allow the starch to bond with the fats immediately.
The Masterclass: Step-by-Step Excellence
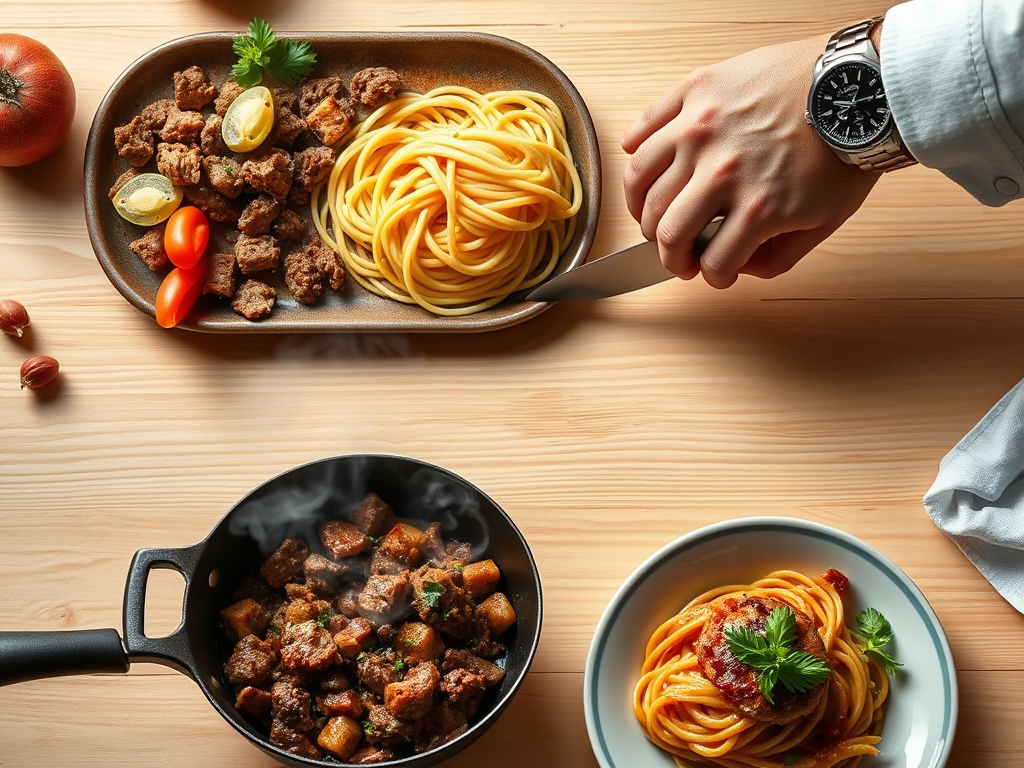
1. The Maillard Sear
Place your beef in a cold heavy-bottomed skillet and then turn the heat to medium-high. This allows the fat to render slowly as the pan heats up, preventing the proteins from seizing. Do not crowd the pan; if the meat steams instead of sears, you lose that deep, nutty flavor profile.
Pro Tip: This is enzymatic browning at work. By leaving the meat undisturbed for three minutes, you allow the amino acids and reducing sugars to reorganize into complex flavor chains.
2. Deglazing the Fond
Once the meat is browned and removed, you will see brown bits stuck to the bottom of the pan. This is "fond," and it is culinary gold. Pour in a splash of dry red wine or beef stock and use a wooden spoon to scrape it up. This process incorporates those concentrated flavors back into your sauce base.
Pro Tip: Deglazing is a chemical extraction process. The liquid acts as a solvent, pulling the caramelized proteins back into a suspension that coats every strand of pasta.
3. The Under-Boil Technique
Boil your pasta in water that is "salty as the sea." However, pull the pasta out two minutes before the package directions suggest. It should still have a definitive "snap" in the center.
Pro Tip: This accounts for thermal carryover. The pasta will continue to hydrate and cook using the residual moisture of the sauce while it is in the oven. If you cook it fully on the stove, it will turn to mush under the broiler.
4. Emulsifying the Sauce
Combine your pasta, beef, and sauce in a large saucier. Add a half-cup of the starchy pasta water. Stir vigorously with tongs to create a creamy, unified texture.
Pro Tip: The starch in the water acts as a bridge between the fats in the beef and the water-based tomato sauce. This creates a stable emulsion that won't "break" or become oily in the oven.
5. The Cheese Cap and Broil
Layer your pasta in a ceramic dish and top with your freshly grated cheese. Bake at 375 degrees Fahrenheit until the edges bubble, then switch to the broiler for the final sixty seconds to achieve those charred, crispy bits.
Pro Tip: This final blast of heat triggers the Maillard reaction on the dairy proteins, creating a complex, smoky aroma and a textural contrast between the gooey interior and the crunchy top.
The Deep Dive: Science and Solutions
Macro Nutrition: A standard serving provides approximately 35g of protein and 45g of carbohydrates. To optimize the glycemic index, use whole-grain pasta which slows the absorption of sugars into the bloodstream.
Dietary Swaps: For a keto-friendly version, replace pasta with roasted cauliflower florets. The cruciferous vegetable mimics the "bite" of pasta when tossed in a heavy cream and beef reduction. For vegans, utilize walnut-based "meat" crumbles and cashew-based nutritional yeast sauces to replicate the umami and creamy textures.
The Fix-It:
- Oily Sauce: If your bake looks greasy, you didn't emulsify enough pasta water. Fix it by stirring in a tablespoon of cold butter before baking to tighten the emulsion.
- Dry Pasta: If the top layer is crunchy in a bad way, you didn't use enough sauce. Next time, ensure the pasta is fully submerged or covered with a thick layer of cheese to trap steam.
- Bland Meat: This usually happens when the beef is seasoned too late. Always salt your meat at the beginning of the sear to allow the salt to penetrate the protein fibers.
Meal Prep Science: To reheat and maintain "day-one" quality, add a teaspoon of water to the bowl and cover it tightly. This creates a steam chamber that re-hydrates the starch molecules without making the cheese rubbery.
The Wrap-Up
Mastering baked pasta with ground beef recipes is about more than just tossing ingredients in a pan; it is about controlling heat and moisture to create a symphony of textures. You now have the technical prowess to deglaze like a pro and emulsify like a scientist. Go forth, experiment with different shapes and spices, and remember that the best kitchen tool you own is your own curiosity. Your dinner table is about to become the most popular spot in the neighborhood.
The Kitchen Table
How do I prevent my baked pasta from being dry?
Always reserve a cup of starchy pasta water to mix into your sauce. This creates a protective emulsion that keeps the pasta hydrated during the high-heat baking process. Ensure your sauce-to-pasta ratio favors the sauce, as the noodles will absorb liquid.
What is the best pasta shape for ground beef?
Rigatoni or Penne Rigate are superior because their ridges and hollow centers "capture" the ground beef and sauce. This ensures every bite has an equal distribution of protein and starch, rather than the meat sinking to the bottom of the dish.
Can I freeze baked pasta with ground beef?
Yes, but freeze it before the final bake. Wrap it tightly in foil to prevent freezer burn. When ready to eat, bake it directly from frozen, adding about twenty minutes to the total cook time to ensure the center reaches 165 degrees.
Why should I grate my own cheese?
Pre-shredded cheese contains anti-caking agents like cellulose that prevent it from melting smoothly. Grating your own cheese from a block ensures a silky, homogenous melt and a much better flavor profile since the oils haven't oxidized on the shelf.