
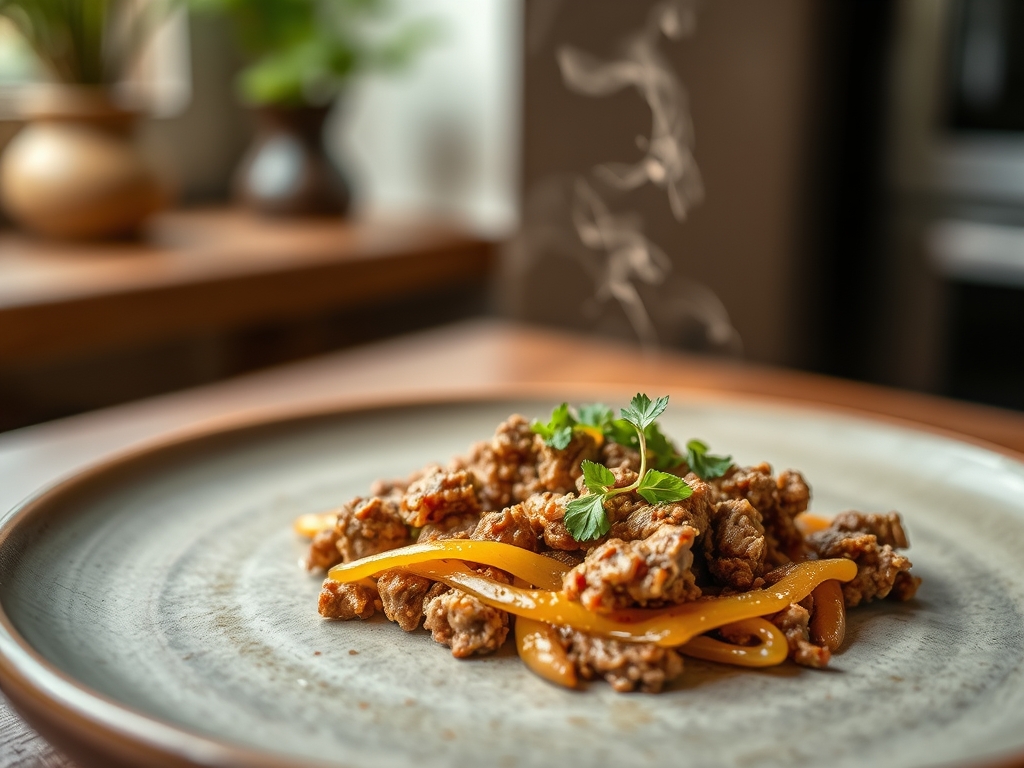
Picture the sound of a heavy-bottomed skillet meeting a high-flame burner. There is a specific, rhythmic sizzle that happens the moment protein hits hot oil; it is the sound of chemistry turning something humble into something transcendent. We have all been there, staring at a vacuum-sealed brick of red meat, wondering how to transform it into those legendary, tasty ground beef recipes that define comfort food. It is not just about heat; it is about the mastery of moisture and the manipulation of amino acids. Whether you are aiming for a silky Bolognese or a burger with a crust so tectonic it shatters, the secret lies in the details. We are moving past the "brown it until it is gray" phase of your life. Today, we are diving into the molecular architecture of meat to ensure every bite is a masterclass in flavor.
The Gathers:
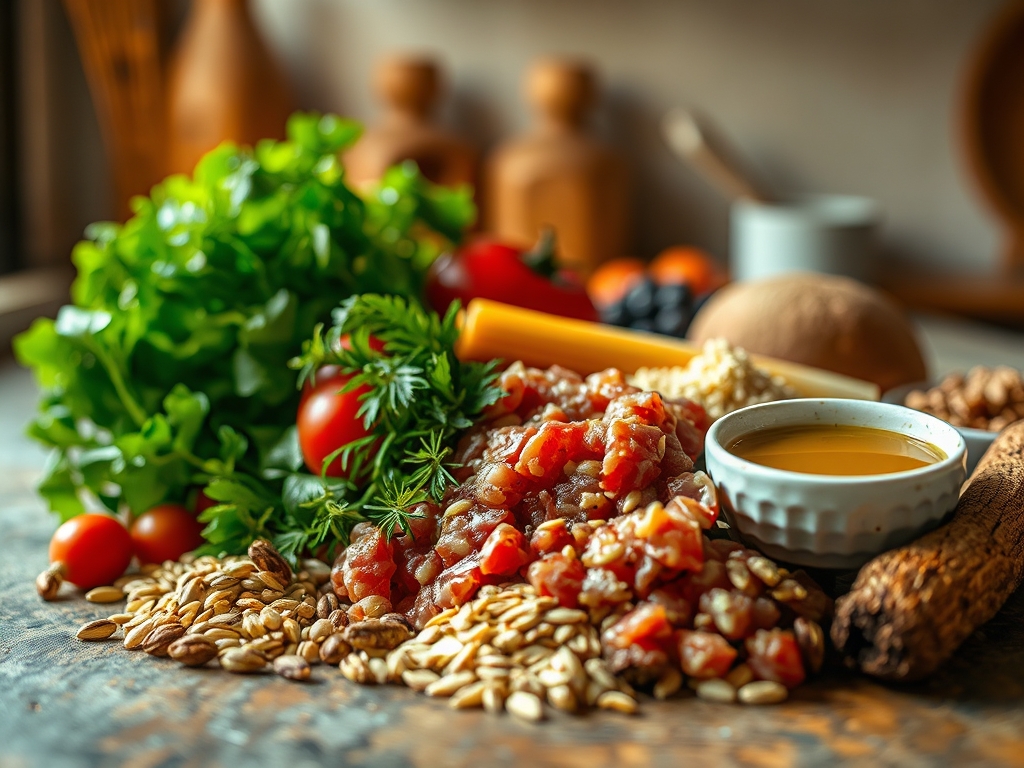
To execute the most tasty ground beef recipes, your mise-en-place must be precise. Start with high-quality beef, preferably an 80/20 blend. This ratio is essential because fat is the primary vehicle for flavor molecules. You will need a digital scale to portion your meat accurately, ensuring even cooking times across the board. Gather your aromatics: yellow onions for their high sugar content (perfect for caramelization), garlic cloves to be processed via microplane for maximum surface area, and tomato paste to provide a concentrated glutamic acid punch.
For the liquids, keep a dry red wine or a fortified stock nearby to deglaze the pan. If you are looking for smart substitutions, consider using finely minced mushrooms to replace a portion of the meat. This not only lightens the dish but adds a complex, earthy umami profile that mimics the savory depth of beef. If you lack tomato paste, a splash of Worcestershire sauce or even a dash of soy sauce can provide that essential salty-sweet fermentation. Ensure your salt is kosher; the larger grains allow for better tactile control when seasoning from a height to achieve uniform coverage.
The Clock:
The "Chef's Flow" is all about overlapping tasks to maximize efficiency without sacrificing the integrity of the ingredients. Your total active prep time should sit comfortably at 15 minutes, while the cooking phase varies between 10 minutes for high-heat searing and 45 minutes for deep-flavor infusion.
Begin by tempering your meat. Cold beef hitting a hot pan causes the muscle fibers to contract violently, squeezing out precious juices. Give it 20 minutes on the counter to take the chill off. While the meat rests, use a bench scraper to organize your chopped aromatics. This stage is crucial: if you rush the prep, you will find yourself scrambling while the garlic burns. The goal is a seamless transition from the "cold prep" zone to the "hot fire" zone, maintaining a steady internal rhythm that prevents the pan from ever dropping below the temperature required for a vigorous sear.
The Masterclass:
1. The Pre-Sear Tempering
Place your ground beef on a flat surface and pat it dry with paper towels. Moisture is the enemy of the sear. By removing surface water, you ensure the energy of the pan goes directly into browning the meat rather than evaporating liquid.
Pro Tip: This prevents "steaming" the meat. When water is present, the temperature cannot rise above 212 degrees Fahrenheit, but the Maillard reaction (which creates those complex savory flavors) requires temperatures between 280 and 330 degrees Fahrenheit.
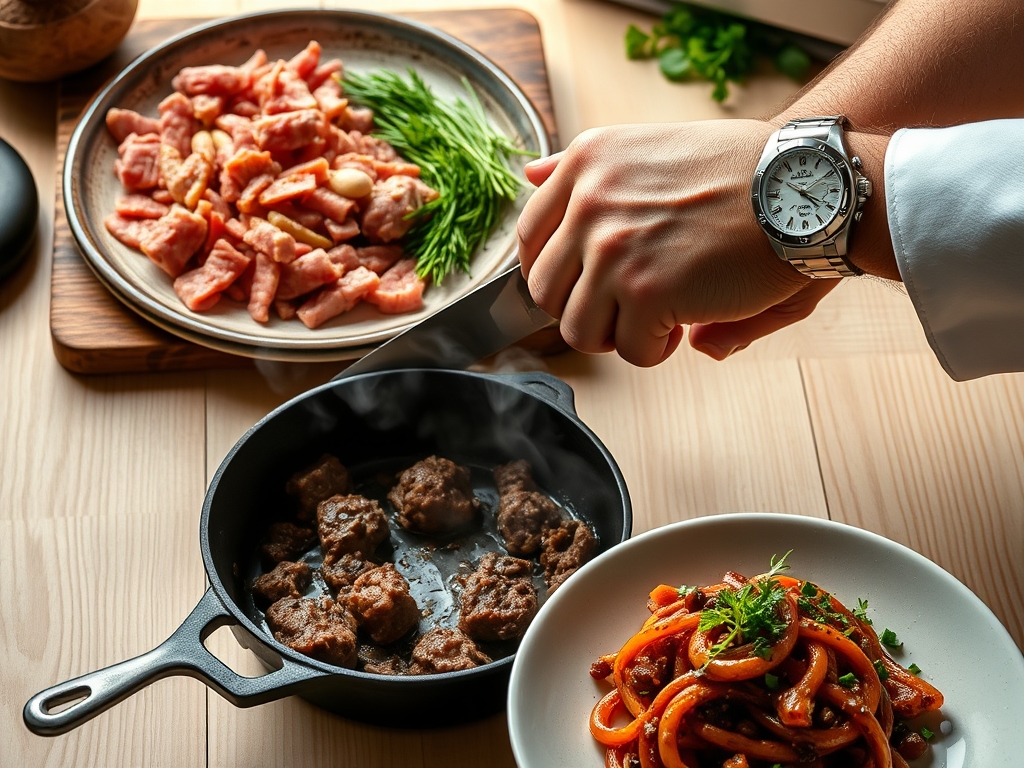
2. The High-Heat Contact
Heat your heavy-bottomed skillet until a drop of water dances and evaporates instantly. Add a high-smoke-point oil, then add the beef in large chunks rather than breaking it up immediately. Let it sit undisturbed for at least three minutes.
Pro Tip: This allows for enzymatic browning to occur across a larger surface area. If you stir too early, you break the heat contact and end up with gray, boiled-looking meat instead of a piquant, dark-brown crust.
3. The Fond Development
Once a crust has formed, use tongs or a stiff spatula to flip the chunks. As the meat cooks, a brown film will form on the bottom of the pan. This is called the "fond," and it is a concentrated goldmine of flavor.
Pro Tip: The fond is composed of caramelized proteins and sugars. It is the foundation of all tasty ground beef recipes, providing the base for a rich, viscous sauce once deglazed.
4. The Aromatic Infusion
Push the meat to the perimeter of the pan and drop your onions and garlic into the center. The fat that has begun to render from the beef will fry the aromatics, extracting their fat-soluble flavor compounds.
Pro Tip: This is known as blooming. Many of the flavor molecules in garlic and spices are hydrophobic, meaning they release their full potential only when dissolved in fats rather than water.
5. The Deglazing Phase
Pour in your liquid of choice—wine, stock, or even a splash of vinegar. Use your spatula to scrape up every bit of the fond from the bottom of the skillet. The liquid will bubble and reduce, thickening into a glossy coating.
Pro Tip: This is a chemical process that utilizes solvent properties to incorporate solid flavor particles back into a liquid state, creating a cohesive and harmonious sauce.
6. The Low and Slow Simmer
Lower the heat and let the mixture gently bubble. This is the time to add your herbs or tomato-based elements. If you are making a sauce, a saucier is the ideal vessel here due to its rounded bottom which prevents scorching in the corners.
Pro Tip: Long simmering allows for the breakdown of connective tissues (collagen) into gelatin. This gives the final dish a silky, luxurious mouthfeel that is impossible to achieve with quick cooking.
7. The Final Seasoning and Rest
Taste your creation. Add a final pinch of salt or a squeeze of lemon juice to brighten the fats. Turn off the heat and let the pan sit for five minutes before serving.
Pro Tip: This accounts for thermal carryover. The residual heat continues to cook the meat gently, while the resting period allows the muscle fibers to relax and reabsorb the juices, ensuring a moist final product.
The Deep Dive:
When we look at the macro nutrition of these tasty ground beef recipes, we are dealing with a powerhouse of bioavailable protein, B12, and zinc. An average 4-ounce serving provides roughly 26 grams of protein. For those on a Keto path, the high fat content is a feature, not a bug. If you are Vegan, swap the beef for a pea-protein crumble or lentils; just ensure you add a teaspoon of "liquid smoke" to mimic the charred depth of animal fat. For a Gluten-Free version, ensure your thickeners are cornstarch or arrowroot rather than flour.
The "Fix-It" Guide:
- The Greasy Pan: If your sauce looks broken or oily, whisk in a tablespoon of starchy pasta water. The starch acts as an emulsifier, binding the fat and water into a smooth sauce.
- The Tough Texture: If the meat feels rubbery, you likely over-salted too early. Next time, salt at the end of the searing process to prevent the salt from drawing out moisture prematurely.
- The Bland Bite: If it tastes flat, it needs acidity. A teaspoon of balsamic vinegar or red wine vinegar will "cut" through the heaviness and make the flavors pop.
For meal prep, ground beef is a champion. To maintain "day-one" quality, reheat it in a pan with a tablespoon of water or stock. Covering the pan creates a steam chamber that rehydrates the proteins, preventing that dreaded "microwave rubber" texture.
The Wrap-Up:
Mastering tasty ground beef recipes is about moving from being a "cook" to being a "flavor architect." By understanding the science of the sear, the importance of the fond, and the magic of emulsification, you can turn a basic ingredient into a culinary event. Remember: don't fear the heat, don't skimp on the aromatics, and always, always deglaze your pan. Now, grab your skillet and go create something delicious!
The Kitchen Table:
Why is my ground beef gray instead of brown?
Gray meat happens when the pan is crowded or not hot enough. This causes the meat to steam in its own juices. To fix this, cook in smaller batches and ensure the skillet is smoking hot before adding the beef.
Should I drain the fat from ground beef?
It depends on the recipe. For tacos or chili, keep a tablespoon for flavor. If there is excessive liquid, drain it but don't rinse the meat; rinsing removes the essential savory compounds and seasoning you have already built up.
How do I make ground beef more tender?
Try the "baking soda trick." Toss the raw meat with a 1/4 teaspoon of baking soda and let it sit for 15 minutes. This raises the pH level, preventing the proteins from bonding too tightly and keeping the meat juicy.
What is the best way to store cooked ground beef?
Store it in an airtight container in the fridge for up to four days. For longer storage, freeze it in flat silicone bags. This increases surface area for faster thawing and prevents ice crystal damage to the meat's texture.