
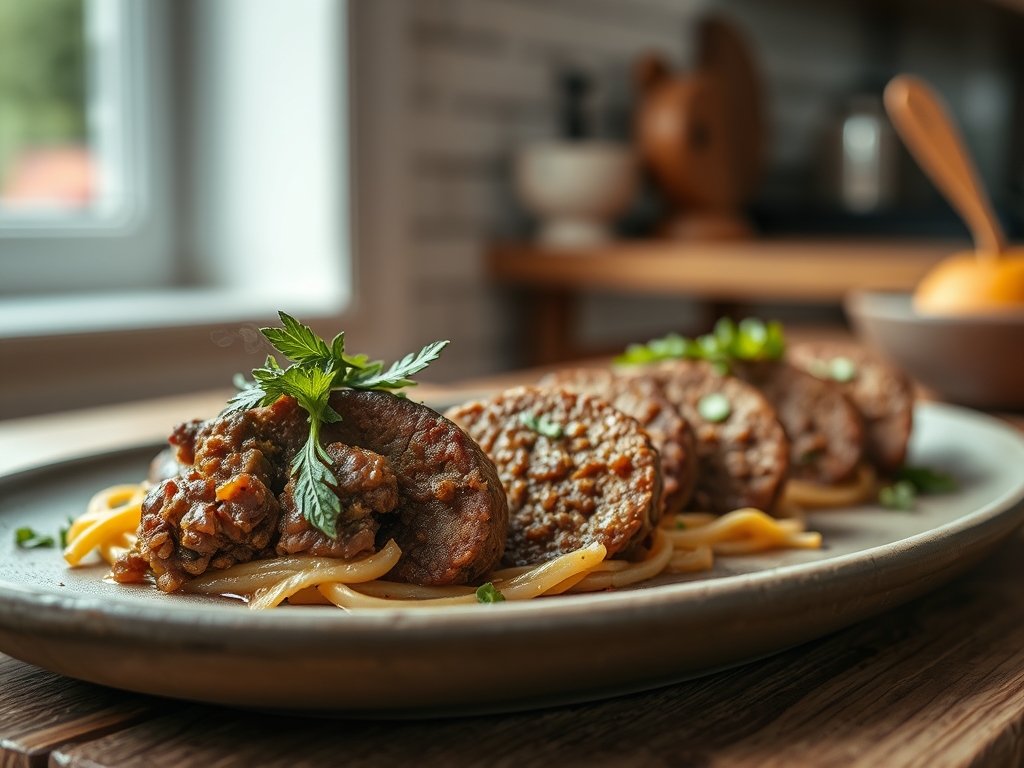
Picture this: a heavy-bottomed skillet sizzling on the stovetop, releasing a cloud of savory, caramelized aromas that fill every corner of your kitchen. There is something primal and deeply satisfying about the scent of searing protein. When you master these stuffed ground beef recipes, you are not just making dinner; you are engineering a multi-sensory experience where the humble burger or meatball becomes a vessel for molten cheese, piquant herbs, and unexpected textures.
The magic lies in the contrast. You have the rugged, charred exterior created by the Maillard reaction, hiding a soft, succulent interior that surprises the palate. Whether you are craving a Mediterranean-inspired pocket of feta and spinach or a smoky, cheddar-filled masterpiece, the technique remains the same: precision and passion. We are moving beyond the basic patty. We are diving into the structural integrity of meat, the science of moisture retention, and the art of the perfect sear. Grab your apron and your favorite tongs; we are about to transform a standard pound of chuck into a culinary triumph that will have your friends begging for the secret.
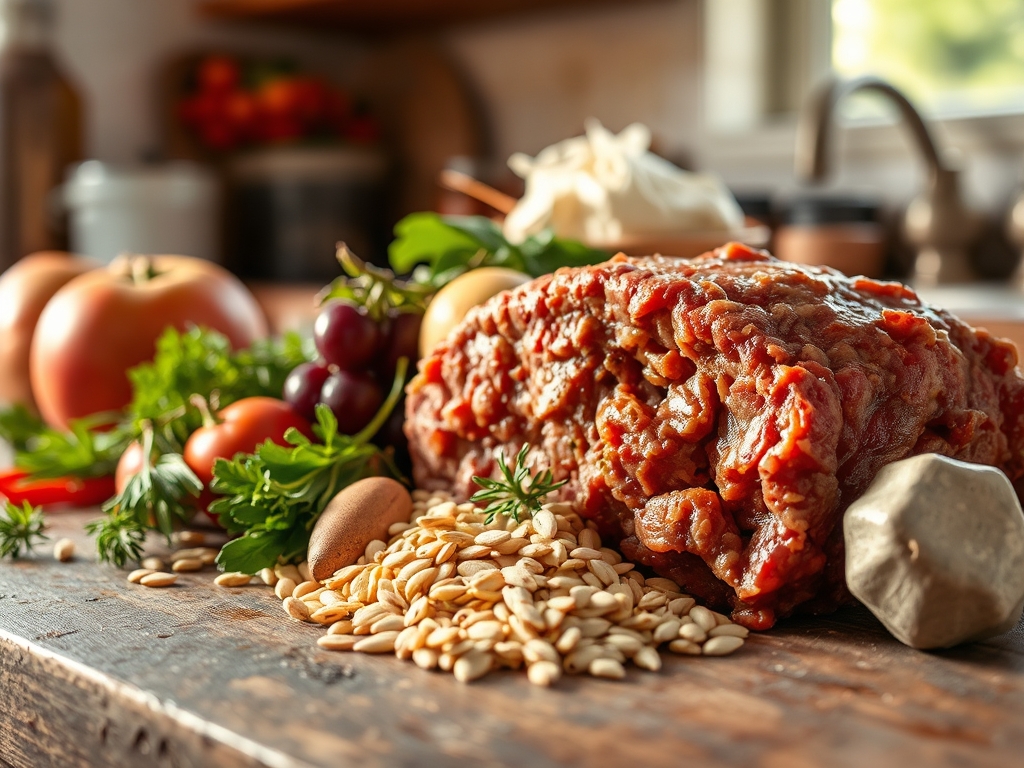
The Gathers:
Before we ignite the flame, we must respect the mise-en-place. For the ultimate stuffed ground beef recipes, your primary medium should be 80/20 ground chuck. This specific ratio ensures enough fat to render during the cooking process, providing the necessary lubrication for the lean muscle fibers. You will need a digital scale to ensure uniform portioning; this is not just for aesthetics but for consistent thermal conduction across all units.
Your secondary components include high-moisture cheeses like fresh mozzarella or fontina, which offer a superior "pull" due to their protein structure. For aromatics, gather fresh garlic, shallots, and herbs like rosemary or flat-leaf parsley. Use a microplane to grate your aromatics into a fine paste; this allows them to distribute evenly without compromising the structural integrity of the meat walls.
Smart Substitutions: If you are looking to lighten the profile, you can swap 25 percent of the beef for finely minced cremini mushrooms. This "blenditarian" approach utilizes the umami-rich nature of fungi to mimic the mouthfeel of beef while reducing caloric density. For a dairy-free center, a dollop of cashew-based "cheese" or a sun-dried tomato pesto provides that essential burst of internal moisture.
The Clock: Timing the Masterpiece
Efficiency in the kitchen is what separates the home cook from the chef. This "Chef's Flow" ensures you aren't scrambling while the pan is smoking.
- Prep Time: 25 minutes. This includes the "chill phase" where the formed portions rest in the refrigerator to solidify the fat.
- Cook Time: 12 to 15 minutes depending on the thickness of the meat walls.
- Total Time: Approximately 40 minutes.
The flow begins with the "Cold Start." Always work with chilled beef to prevent the fat from melting into your hands, which leads to a dry, crumbly result. While the meat rests, use that window to deglaze your pan for a quick pan sauce or to toss a bright, acidic salad to cut through the richness of the beef.
The Masterclass
1. The Portion and Divot
Divide your meat into equal spheres using your digital scale. Press a deep well into the center of each sphere using your thumb, creating a bowl-like shape. Ensure the walls are of uniform thickness to prevent uneven cooking.
Pro Tip: This step relies on thermal equilibrium. Uniform walls ensure that the heat reaches the center stuffing at the exact moment the exterior reaches its peak sear, preventing a raw middle or a burnt crust.
2. The Core Integration
Place your chosen filling—be it a cube of sharp cheddar or a spoonful of herbed goat cheese—into the center. Do not overstuff; the filling should occupy no more than 30 percent of the total volume to avoid structural failure.
Pro Tip: Use cold fillings. This delay in the melting point allows the beef to reach a safe internal temperature before the cheese becomes too viscous and leaks through the seams.
3. The Hermetic Seal
Carefully fold the edges of the beef over the filling. Use a bench scraper to help lift the meat if it sticks. Pinch the seams firmly and roll the unit between your palms until the surface is smooth and seamless.
Pro Tip: Eliminating air pockets is crucial. Air acts as an insulator, which can cause "steam pockets" that rupture the meat, leading to the dreaded cheese blowout.
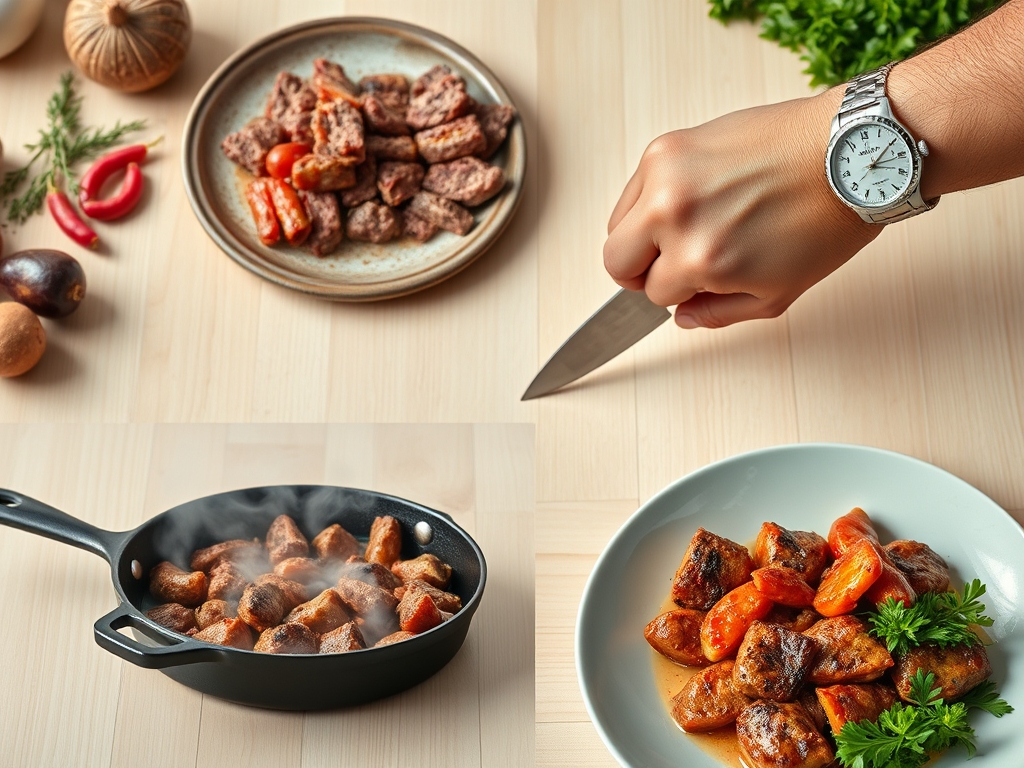
4. The Sear and Crust
Heat your heavy-bottomed skillet until it reaches the smoke point of your oil. Place the meat in the pan and do not move it for at least three minutes. This allows the Maillard reaction to create a complex, browned crust that locks in juices.
Pro Tip: Avoid overcrowding the pan. Too many pieces will drop the surface temperature, causing the meat to boil in its own juices rather than sear, which ruins the texture.
5. The Rest and Carryover
Once the meat reaches an internal temperature of 155 degrees Fahrenheit, remove it from the heat. Place it on a wire rack and let it rest for five minutes before serving.
Pro Tip: This utilizes thermal carryover. The internal temperature will rise to the target 160 degrees while the muscle fibers relax, allowing the juices to redistribute rather than spilling out upon the first bite.
The Deep Dive
Macro Nutrition
A standard serving of stuffed ground beef provides approximately 28g of protein and 22g of fat. By choosing lean fillings like spinach or peppers, you can keep the carbohydrate count near zero, making this a staple for high-protein diets.
Dietary Swaps
- Keto: Use full-fat grass-fed butter and high-fat cheeses. Skip the breadcrumb binders.
- Vegan: Utilize a high-quality plant-based "ground" and fermented nut cheeses. Ensure you use a binder like flax-egg to maintain the shape.
- GF: Replace traditional breadcrumbs with almond flour or crushed pork rinds to maintain that essential aerated texture.
The Fix-It: Common Pitfalls
- The Leaking Center: This happens when the seams aren't pinched tightly enough. The Fix: Brush a tiny amount of whisked egg white on the edges before sealing to act as a protein "glue."
- Dry Exterior: You likely used meat that was too lean. The Fix: Baste the meat with butter and aromatics during the last two minutes of cooking to reintroduce moisture.
- Raw Filling: The meat walls were too thick. The Fix: Finish the beef in a 350-degree oven for four minutes to ensure even heat penetration without burning the outside.
Meal Prep and Reheating
To maintain "day-one" quality, do not microwave. Reheat your stuffed beef in a covered skillet with a tablespoon of water over medium-low heat. This creates a steam-saturated environment that gently warms the center without toughening the protein fibers.
The Wrap-Up
Mastering stuffed ground beef recipes is about more than just a meal; it is about understanding the chemistry of your kitchen. By controlling the fat content, respecting the sear, and allowing for proper resting, you elevate a simple ingredient into a gourmet centerpiece. These nine ideas—from blue cheese and walnut to jalapeño popper centers—are just the beginning. Go forth, experiment with your saucier and your spices, and remember that the best seat in the house is always at your own kitchen table.
The Kitchen Table
How do I prevent the cheese from leaking out?
Ensure you use chilled cheese and create a seamless seal. Pinch the meat edges firmly and roll the ball between your palms to eliminate air pockets. Using a "protein glue" like egg white on the seams also helps maintain structural integrity.
What is the best fat ratio for stuffed beef?
An 80/20 ratio of lean to fat is ideal. This provides enough moisture to keep the meat succulent during the high-heat searing process while ensuring the walls of the meat remain strong enough to hold the internal fillings without collapsing.
Can I make these ahead of time?
Yes, you can prep and stuff the beef up to 24 hours in advance. Keep them tightly wrapped in the refrigerator. In fact, chilling the formed portions helps them hold their shape better when they finally hit the hot skillet.
How do I know when the center is cooked?
Use a digital meat thermometer. For stuffed beef, you are looking for an internal temperature of 160 degrees Fahrenheit. Insert the probe into the thickest part of the meat, ensuring you are measuring the beef rather than just the molten filling.