
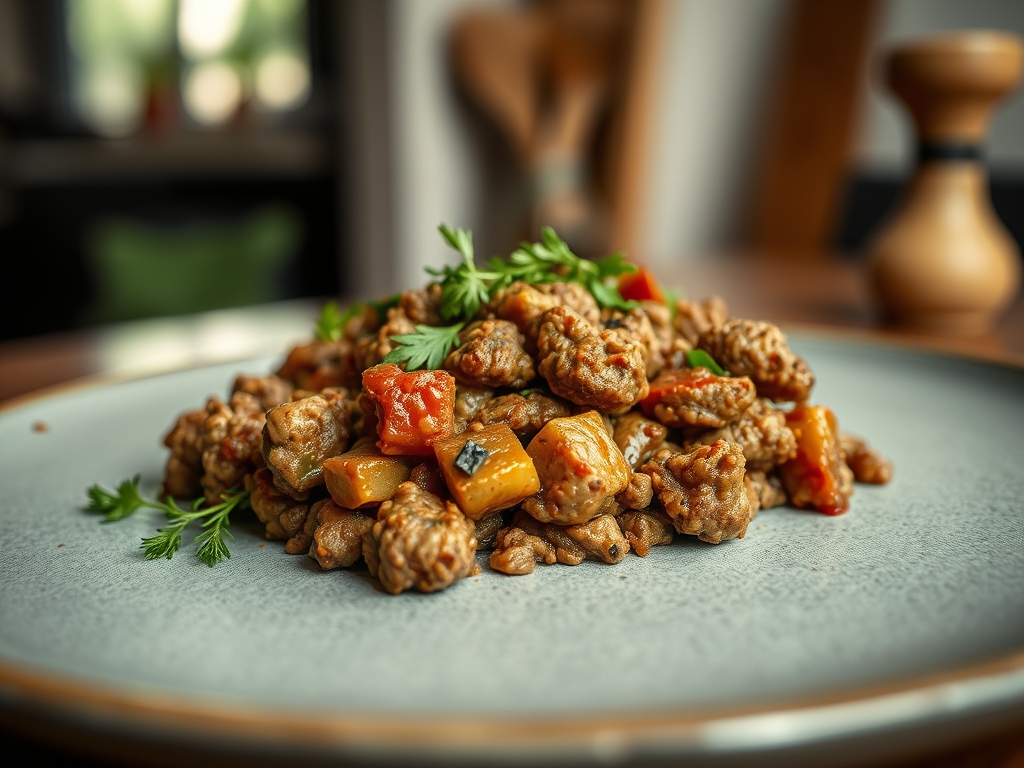
Imagine the sizzle of a heavy bottomed skillet as it meets a cold emulsion of protein and fat. That sound is the overture to your new favorite kitchen secret. Mixing poultry and bovine creates a hybrid protein that captures the richness of steak with the lightness of a bistro salad. Mastering ground turkey beef recipes transforms your weeknight routine into a high performance culinary lab.
The magic happens in the blend. While beef provides the iron heavy base and saturated fats that coat the palate, turkey acts as a lean canvas that absorbs aromatics with surgical precision. This combination is not just a budget saver; it is a structural upgrade. Pure turkey can often become crumbly or dry due to its low collagen content. Pure beef can sometimes feel overly heavy or greasy. By marrying the two, you achieve a juicy, resilient texture that holds its shape in everything from a piquant ragu to a sturdy burger patty. We are talking about achieving that perfect "snap" and moisture level that makes your guests wonder if you secretly attended culinary school over the weekend.
The Gathers:
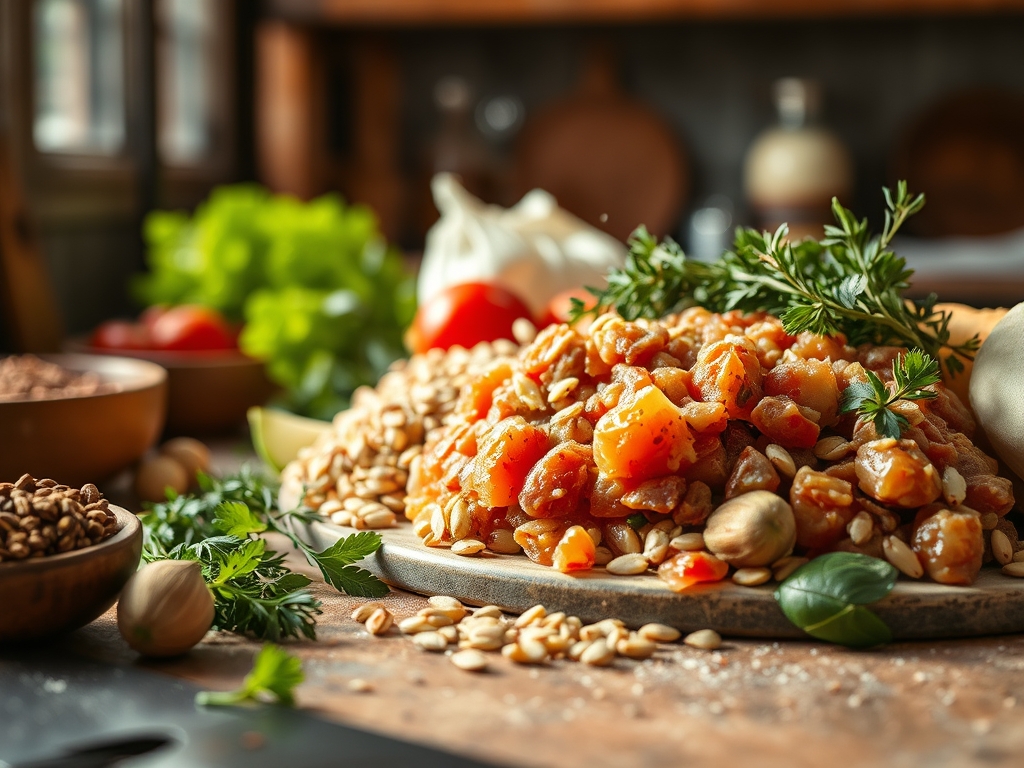
To begin this transformation, your mise en place must be organized with precision. Start with a 1:1 ratio of 93 percent lean ground turkey and 80/20 ground chuck. This specific ratio ensures there is enough intramuscular fat to trigger the Maillard reaction without drowning the dish in grease. You will need a digital scale to ensure your portions are exact; consistency is the hallmark of a professional.
Gather your aromatics. Use a microplane to zest fresh garlic and ginger, creating a paste that will disperse evenly through the meat fibers. For the "Smart Substitutions," consider using mushroom duxelles (finely chopped and sautéed mushrooms) to add umami and bulk if you want to lean further into the turkey side. If you are out of traditional breadcrumbs, use crushed pork rinds for a keto friendly binder or panko for a lighter, more aerated structure. Do not forget a high quality sea salt and freshly cracked black pepper. The coarse grind of the pepper provides a necessary textural contrast to the soft proteins.
The Clock
The "Chef's Flow" is all about kinetic energy and timing. Expect a 15 minute preparation window and a 20 to 30 minute cook time depending on your chosen application. The secret to efficiency is multitasking during the "render phase." While the meat is browning in your heavy bottomed skillet, you should be deglazing the fond or prepping your finishing herbs.
Total time from fridge to table is roughly 45 minutes. This includes a mandatory 5 minute resting period. Resting is not a suggestion; it is a thermal necessity. It allows the internal juices to redistribute, ensuring that the moisture stays inside the meat rather than flooding your plate.
The Masterclass
1. Tempering the Protein
Take your meat out of the refrigerator 20 minutes before cooking. Cold meat hitting a hot pan causes the fibers to seize, resulting in a tough texture.
Pro Tip: This practice reduces the temperature gradient between the pan and the food, allowing for a more even sear and preventing the "gray meat" steaming effect.
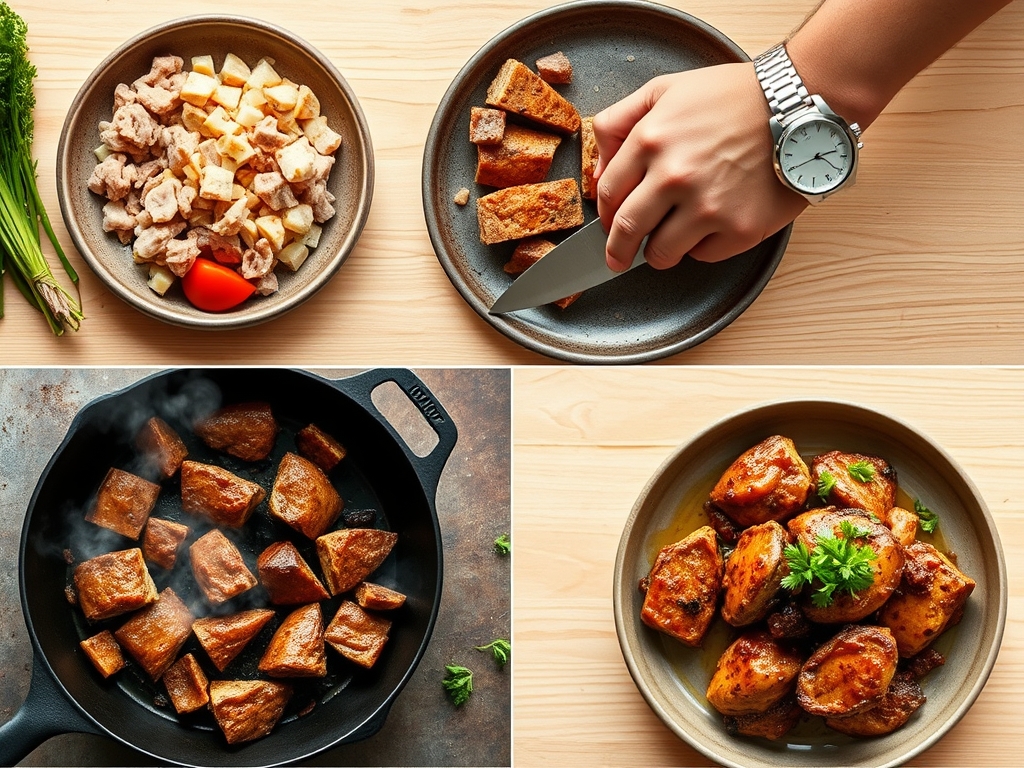
2. The Initial Sear
Heat your skillet until a drop of water flicked onto the surface dances and evaporates instantly. Add a high smoke point oil like avocado oil. Place the meat in the pan but do not stir it immediately.
Pro Tip: This facilitates the Maillard reaction, a chemical reaction between amino acids and reducing sugars that gives browned food its distinctive flavor. If you move the meat too soon, you break the crust before it forms.
3. Breaking the Curd
Use a sturdy wooden spoon or a specialized meat masher to break the blend into uniform crumbles. You want pieces that are small enough to cook evenly but large enough to retain a "bite."
Pro Tip: Uniformity in size ensures that every piece reaches the safe internal temperature of 165 degrees Fahrenheit at the exact same time, preventing overcooked "bullets" of meat.
4. Deglazing for Depth
Once the meat is browned, you will see brown bits (fond) stuck to the bottom of the pan. Pour in a splash of dry white wine, beef stock, or even a piquant balsamic vinegar. Use a flat edged spatula to scrape the bottom.
Pro Tip: Deglazing incorporates the concentrated flavors of the caramelized proteins back into the sauce, creating a complex, layered profile that salt alone cannot achieve.
5. The Emulsion Phase
If you are making a sauce or a taco filling, add your viscous liquids (like tomato puree or stock) and simmer on low. This allows the fat from the beef to emulsify with the moisture from the turkey.
Pro Tip: Slow simmering allows for "flavor bridging," where the fat soluble compounds in your spices dissolve into the beef fat, intensifying the overall seasoning.
The Deep Dive
When we look at the macro nutrition of ground turkey beef recipes, we see a beautiful balance. You get the high B12 and zinc content of beef alongside the lower calorie density of turkey. A standard 4 ounce serving of this 50/50 blend typically clocks in around 220 calories with 24 grams of protein.
For dietary swaps, the "Vegan Pivot" involves using a mix of lentils and walnuts to mimic the texture of the beef turkey blend. For "Keto Enthusiasts," skip the binders entirely and use an egg yolk to increase the fat content and stability. If you are "Gluten Free," ensure your soy sauce is replaced with tamari or coconut aminos during the deglazing phase.
The Fix-It: Common Pitfalls
- The Meat is Greasy: This happens if you do not drain the excess fat after the initial sear. Fix: Use a slotted spoon to remove the meat, wipe the pan, and return only a tablespoon of fat for the aromatics.
- The Meat is Dry: This usually means the turkey was too lean or you overcooked it. Fix: Stir in a tablespoon of cold butter or a splash of heavy cream at the end to "mount" the sauce and add silkiness.
- The Flavor is Flat: You likely forgot to acidify. Fix: Add a squeeze of fresh lemon juice or a teaspoon of apple cider vinegar right before serving to brighten the heavy fats.
For meal prep, the reheating science is vital. To maintain "day one" quality, reheat in a covered skillet with a tablespoon of water. This creates a steam chamber that prevents the turkey fibers from becoming leathery in the microwave.
The Wrap-Up
You are now armed with the technical prowess to turn a humble pack of ground meat into a gourmet masterpiece. By understanding the chemistry of the blend and the physics of the sear, you have elevated your kitchen game from "just cooking" to "culinary engineering." Go forth, grab that heavy bottomed skillet, and let the sizzle begin. Your taste buds (and your budget) will thank you for this delicious, protein packed upgrade!
The Kitchen Table
Can I freeze the turkey and beef blend together?
Yes, you can freeze the raw blend for up to three months. Ensure you use a vacuum sealer or heavy duty freezer bags to prevent freezer burn, which occurs when air dehydrates the surface of the meat.
What is the best fat ratio for burgers?
For the best results, aim for an overall fat content of 15 to 20 percent. Mixing 93 percent lean turkey with 80/20 beef hits this sweet spot perfectly, ensuring the burgers remain juicy without falling apart on the grill.
Why does my ground turkey smell different than beef?
Turkey has a higher concentration of certain amino acids and a different fat structure. While it may have a distinct scent when raw, this disappears during the Maillard reaction as it takes on the savory notes of the beef.
How do I know when the meat is perfectly cooked?
Use a digital meat thermometer to check for an internal temperature of 165 degrees Fahrenheit. Because turkey is a poultry product, it must reach this threshold to ensure food safety, regardless of the beef content in the mixture.