
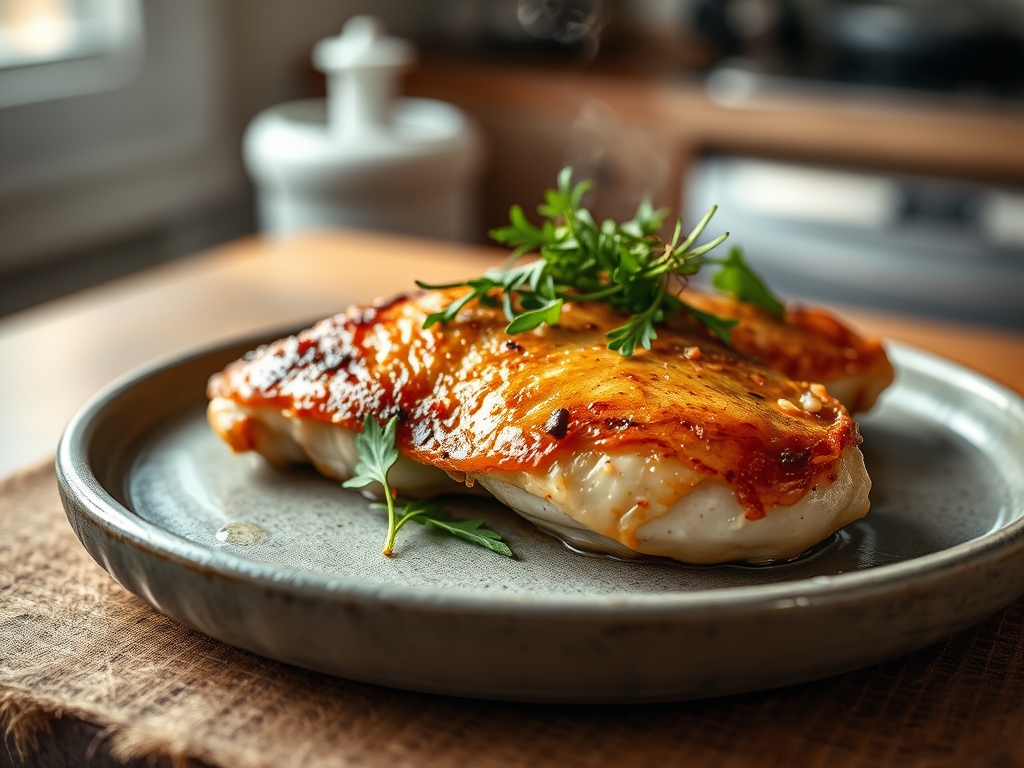
Picture a kitchen bathed in golden afternoon light where the air smells of toasted garlic and caramelized rosemary. We have all been there; staring at a pale, rubbery piece of poultry that feels more like an eraser than an entree. It is time to retire the bland because mastering simple baked chicken recipes breast is a lesson in thermodynamics and moisture retention. We are not just cooking dinner tonight. We are engineering a masterpiece of protein that remains succulent even after it hits the cutting board.
Most home cooks fail because they treat chicken like a passive ingredient rather than a dynamic biological structure. To achieve that elusive bronzed exterior and buttery interior, you must understand how heat interacts with cellular walls. We are going to bridge the gap between "fine for a Tuesday" and "restaurant quality" using a few professional tools and a lot of culinary logic. Grab your digital scale and your favorite heavy-bottomed skillet; we are about to transform your weeknight rotation into a high-performance flavor lab.
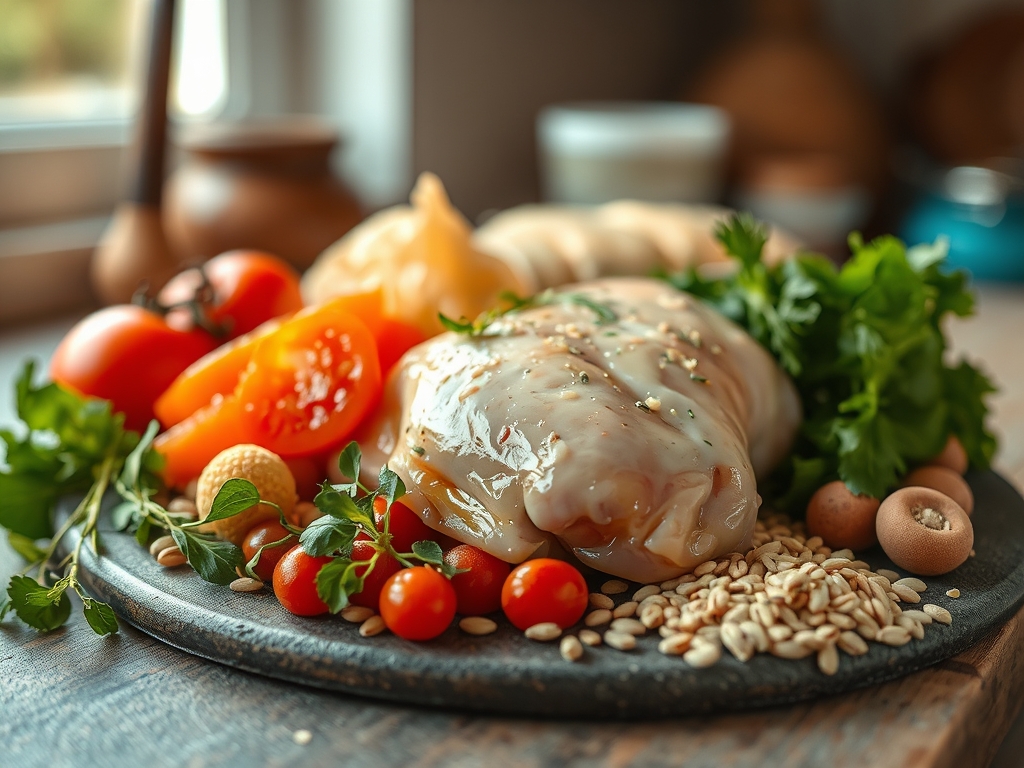
The Gathers:
Before we apply heat, we must curate our palette. Start with high-quality, air-chilled chicken breasts. Unlike water-chilled poultry, air-chilled meat has a lower moisture content in the skin and outer fibers, which allows for a more efficient Maillard reaction. You will need a high-smoke-point fat like avocado oil or clarified butter; these allow for high-temperature searing without the bitter acridity of burnt milk solids.
For your aromatics, reach for fresh sprigs of thyme and rosemary rather than the dusty jars in the back of the pantry. The volatile oils in fresh herbs are far more viscous and will infuse the oil during the roasting process. You will also need kosher salt (the jagged crystals adhere better to uneven surfaces) and freshly cracked black pepper.
Smart Substitutions:
If you are looking to pivot the flavor profile, swap the rosemary for a piquant blend of smoked paprika and cumin for a Southwestern flair. If you lack avocado oil, grapeseed oil is an excellent neutral alternative with a high thermal threshold. For a dairy-free richness that mimics butter, use a dollop of ghee or a refined coconut oil to ensure you do not lose that luxurious mouthfeel.
The Clock
Efficiency in the kitchen is what we call "Chef's Flow." This is the art of overlapping tasks so that no second is wasted. Your total active prep time is a brisk 10 minutes, with a cook time ranging from 18 to 22 minutes depending on the thickness of your protein.
The flow starts with the "Temper." Take your chicken out of the refrigerator 20 minutes before cooking. This reduces the thermal shock when the meat hits the oven, ensuring the center cooks at the same rate as the exterior. While the meat tempers, preheat your oven to 425 degrees Fahrenheit and prepare your saucier if you plan on making a pan sauce. By the time your oven chime sounds, your chicken will be at the perfect baseline temperature for a uniform roast.
The Masterclass
1. The Uniformity Leveling
Place your chicken breasts between two sheets of parchment paper and use a meat mallet or a heavy rolling pin to gently pound the thickest part of the breast. Aim for a consistent thickness of about one inch across the entire piece.
Pro Tip: This is about mechanical tenderization. By leveling the thickness, you prevent the tapered "tail" of the breast from overcooking and becoming stringy while the center reaches safety.
2. The Surface Desiccation
Use a paper towel to pat the chicken completely dry on all sides. Any surface moisture will turn to steam in the oven, which acts as a thermal barrier and prevents browning.
Pro Tip: This facilitates the Maillard reaction, a chemical reaction between amino acids and reducing sugars that gives browned food its distinctive flavor. Moisture is the enemy of the crust.
3. The Oil Emulsification
Drizzle the chicken with your high-smoke-point oil and use your hands to massage it into every crevice. Season aggressively with salt and pepper from at least twelve inches above the meat to ensure even distribution.
Pro Tip: Fat acts as a thermal conductor, helping the dry heat of the oven penetrate the meat more efficiently while locking in internal juices.
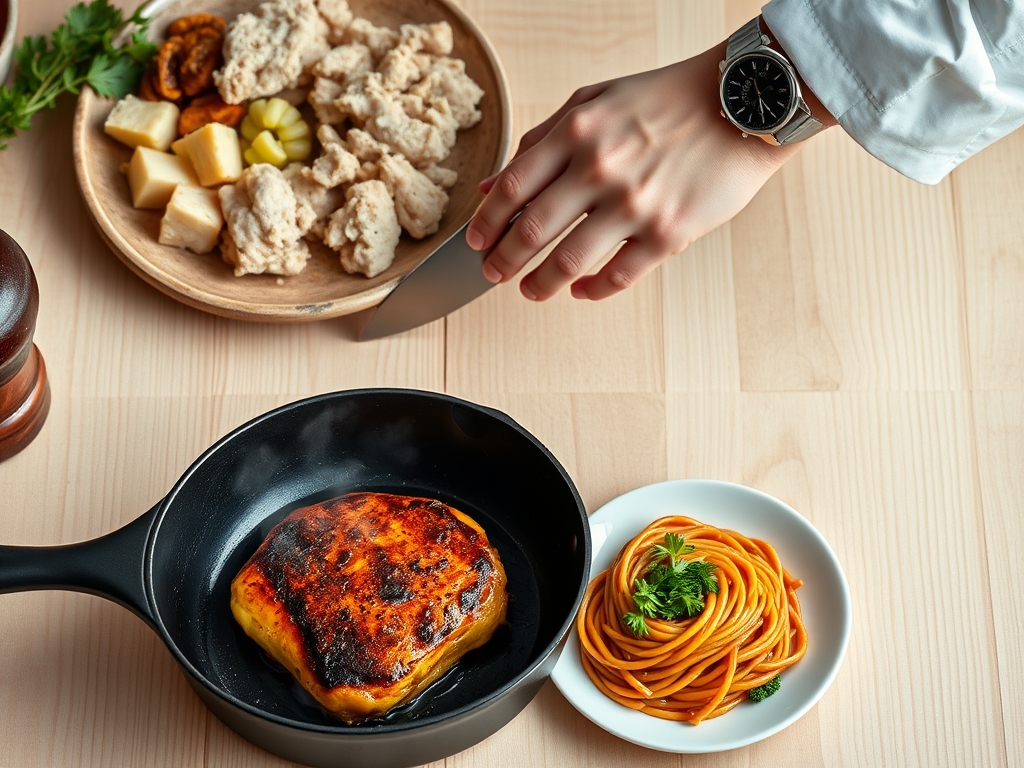
4. The High-Heat Launch
Place the chicken on a preheated sheet pan or in a heavy-bottomed skillet. The immediate contact with a hot surface initiates the searing process before the ambient oven air even takes effect.
Pro Tip: This initial contact triggers protein denaturation, where the coiled proteins in the meat begin to unwind and then rebond, creating a firm but tender texture.
5. The Aromatic Infusion
Halfway through the baking process, toss your garlic cloves and herb sprigs into the pan. Use tongs to flip the chicken once to ensure both sides benefit from the rendered fat and herb oils.
Pro Tip: Adding herbs too early can lead to carbonization and bitterness. Adding them midway allows the oils to infuse the fat without burning the delicate leaves.
6. The Precision Pull
Use a digital scale or, more importantly, an instant-read thermometer to check the internal temperature. Pull the chicken out of the oven when it hits 160 degrees Fahrenheit.
Pro Tip: This accounts for thermal carryover. The internal temperature will continue to rise about 5 degrees while resting, bringing it to the FDA-recommended 165 degrees without drying it out.
7. The Essential Rest
Transfer the chicken to a warm plate and tent it loosely with foil. Let it rest for at least 5 to 7 minutes before slicing.
Pro Tip: Resting allows the muscle fibers to relax and reabsorb the juices. If you cut it immediately, the viscous internal liquids will spill out, leaving the meat parched.
The Deep Dive
From a nutritional standpoint, baked chicken breast is a powerhouse. A standard 6-ounce serving provides roughly 50 grams of high-quality protein with minimal saturated fat. It is the ultimate canvas for dietary customization. For a Keto version, increase the healthy fats by finishing with a dollop of herb butter. For a Vegan alternative (if you are cooking for a friend), apply these same dry-rub and high-heat roasting techniques to extra-firm tofu or cauliflower steaks.
The Fix-It: Common Pitfalls
- Rubbery Texture: This usually happens when chicken is cooked straight from the fridge. The Fix: Always temper the meat for 20 minutes.
- Bland Flavor: Salt was only applied to the surface. The Fix: Season from a height and consider a quick 30-minute dry brine in the fridge.
- Soggy Bottoms: The chicken sat in its own juices. The Fix: Roast on a wire rack set inside the baking sheet to allow hot air to aerate the underside.
Meal Prep Mastery:
To reheat chicken without it becoming "rubbery," avoid the microwave. Instead, use a saucier to warm a splash of chicken stock and place the sliced chicken in the liquid for 2 minutes. The steam will rehydrate the fibers, giving you "day-one" quality.
The Wrap-Up
Mastering simple baked chicken recipes breast is more than just a kitchen chore; it is a fundamental skill that unlocks a thousand other meals. When you respect the science of heat and the anatomy of the protein, you stop guessing and start creating. You now have the tools, from the microplane for zesting to the logic of thermal carryover, to turn a basic bird into a gourmet staple. Go forth and sear with confidence!
The Kitchen Table
How do I keep chicken breast from drying out?
The secret is pulling the meat at 160 degrees Fahrenheit and allowing for thermal carryover. Always let the meat rest for five minutes so the juices can redistribute through the fibers rather than leaking out on the board.
Can I bake chicken at 400 instead of 425?
Yes, but you will lose some of the crispness on the exterior. Lower temperatures require longer cook times, which can lead to more moisture loss. 425 degrees is the "sweet spot" for a fast sear and juicy interior.
Do I need to cover the chicken with foil while baking?
No, covering the chicken creates steam, which prevents the Maillard reaction. Leave it uncovered to get that beautiful golden-brown color. Only use foil after the chicken is out of the oven to help it rest.
Should I wash my chicken before baking?
Never wash raw poultry. It does not remove bacteria; it only spreads pathogens around your sink and counters via splashing. Patting the meat dry with paper towels is the only "prep" the surface needs for safety and browning.