Imagine the scent of golden, rendered schmaltz swirling through your kitchen; it is a savory perfume that sends your pup into a tail-wagging frenzy. Mastering dog food chicken recipes is not just about boiling poultry in a pot. It is a culinary bridge between high-end gastronomy and canine biology. We are transforming raw muscle meat into a digestible masterpiece that balances lipids, proteins, and micronutrients. By understanding the molecular structure of the ingredients, we ensure every bowl is a nutritional powerhouse.
When you cook for your dog, you become a biological architect. You are managing the moisture content to prevent dehydration while ensuring the bio-availability of essential amino acids like taurine and arginine. This is not just "pet food." It is a curated, home-cooked experience that utilizes professional techniques to maximize health. Whether you are dealing with a picky eater or a high-performance athlete of a dog, these recipes provide the foundation for a long, vibrant life. Grab your favorite heavy-bottomed skillet; we are about to redefine the standard for canine nutrition.
The Gathers:
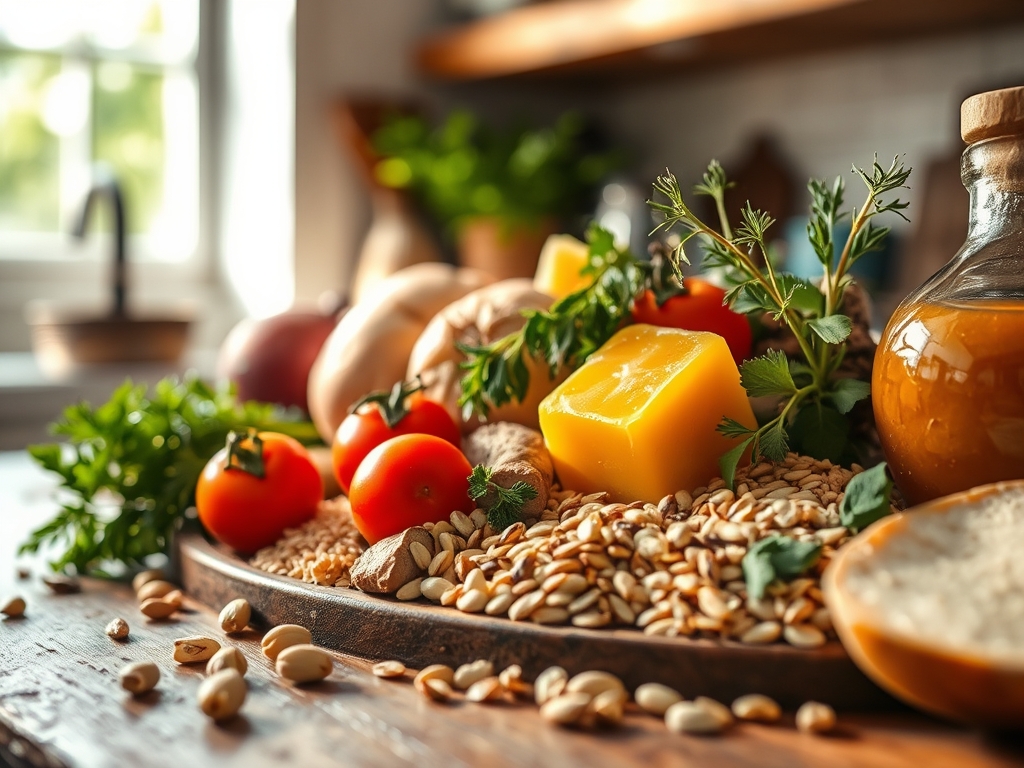
The mise-en-place for professional dog food chicken recipes requires high-quality, biologically appropriate ingredients. Start with boneless, skinless chicken thighs or breasts; thighs offer a higher concentration of iron and zinc due to the darker muscle fibers. You will need a complex carbohydrate base such as pearled barley, brown rice, or sweet potatoes. The fiber in these ingredients regulates the glycemic index of the meal.
For the micronutrient boost, gather fresh spinach, carrots, and blueberries. These provide antioxidants that combat oxidative stress at a cellular level. Use a microplane to zest a tiny bit of ginger for digestive support. If you need a smart substitution, swap chicken for turkey to lower the fat content; alternatively, use pumpkin puree instead of rice if your dog requires a grain-free, low-carb profile. Always have a bottle of high-quality salmon oil on standby to emulsify into the final dish for those essential Omega-3 fatty acids.
The Clock:
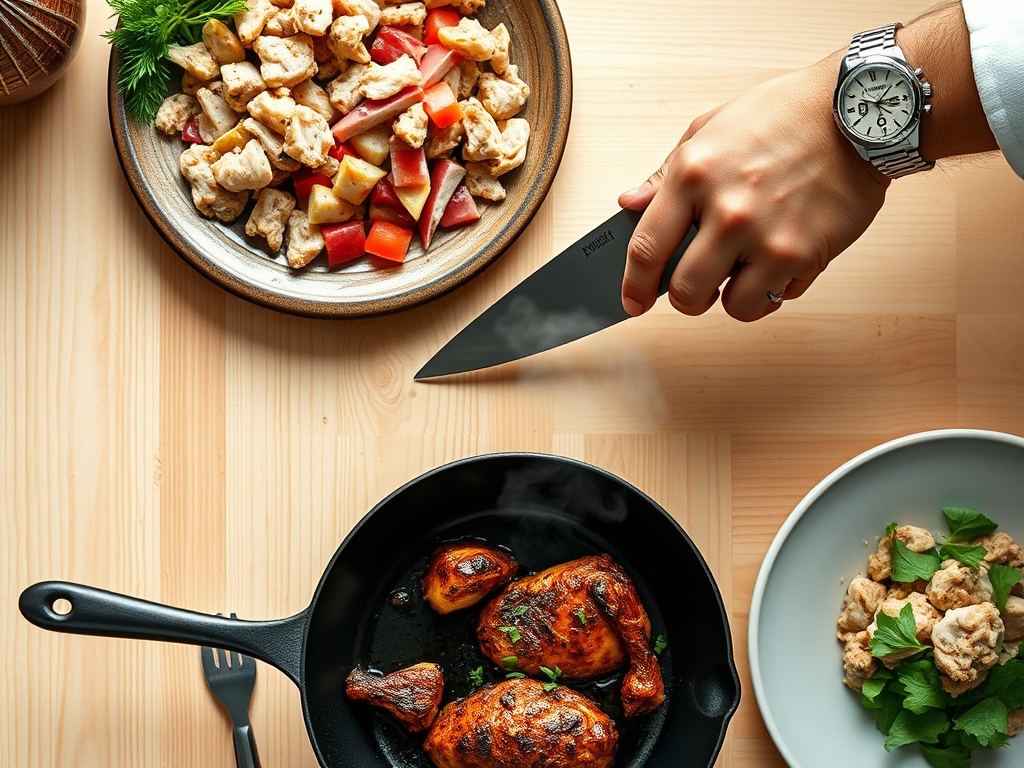
Efficiency in the kitchen is dictated by the Chef's Flow. This is the practice of overlapping tasks to minimize downtime. Prep time for these recipes generally clocks in at 20 minutes, provided your knife skills are sharp. Use a bench scraper to quickly move chopped vegetables from your cutting board to the pot.
Cook times vary between 30 to 45 minutes depending on the density of the proteins. If you are batch-prepping for the week, expect a total kitchen commitment of 75 minutes. By utilizing a digital scale, you can measure portions with mathematical precision, ensuring that the caloric density remains consistent across every meal prep container.
The Masterclass:
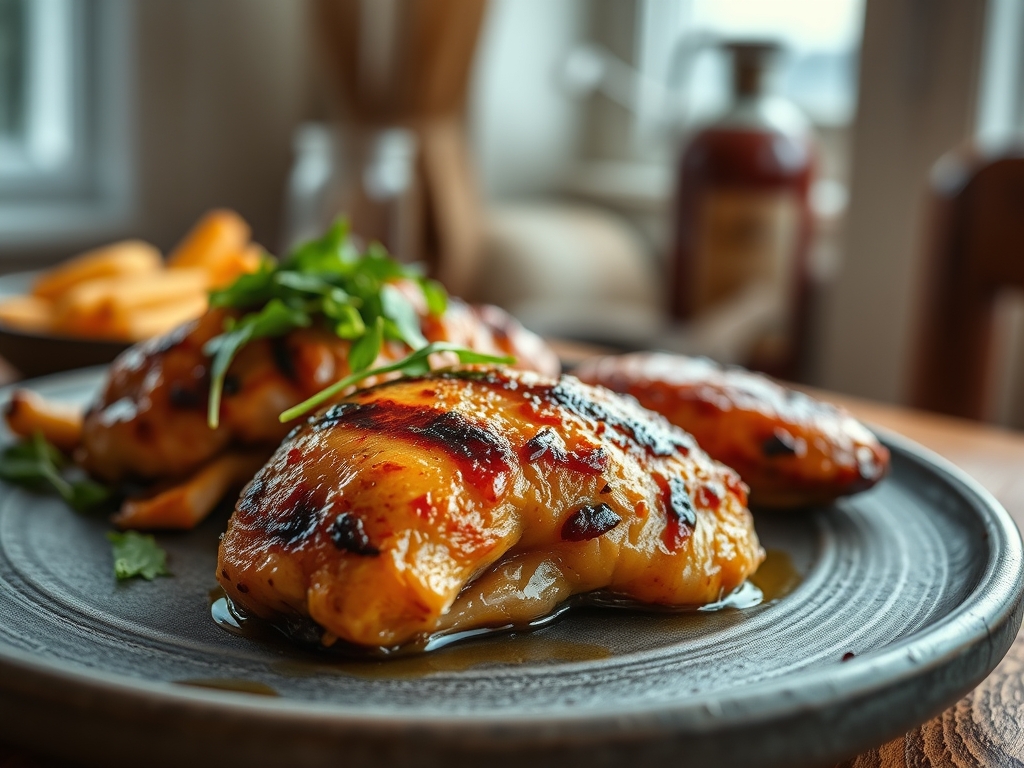
1. The Protein Sear
Place your chicken in a heavy-bottomed skillet over medium heat. You want to lightly render the fats without creating a hard, carbonized crust.
Pro Tip: This stage utilizes the Maillard Reaction, a chemical reaction between amino acids and reducing sugars that gives browned food its distinctive flavor. For dogs, we keep the sear light to avoid heterocyclic amines, ensuring the meat remains tender and highly digestible.
2. Deglazing the Fond
Once the chicken is cooked through, remove it and add a splash of water or low-sodium chicken bone broth to the pan. Use tongs to scrape up the brown bits.
Pro Tip: This process is called deglazing. The "fond" at the bottom of the pan is a concentrated source of umami flavor. By incorporating it back into the meal, you increase the palatability of the dish without adding excess salt or artificial flavorings.
3. The Vegetable Sweat
Add your diced carrots and celery to the pan. Sauté them until they are translucent but still retain a slight snap.
Pro Tip: Sweating vegetables breaks down the tough cellulose walls through gentle heat. This makes the fat-soluble vitamins, such as Vitamin A in carrots, more accessible for your dog's digestive system to absorb during transit.
4. Integrating the Grains
Stir in your cooked grains or starches. Ensure they are fully hydrated so they do not absorb moisture from your dog's gut after ingestion.
Pro Tip: Starch gelatinization occurs when granules absorb water and swell. Fully gelatinized starches are much easier for the canine pancreas to process, reducing the risk of fermentation and gas in the lower intestine.
5. The Final Emulsion
Turn off the heat and fold in your leafy greens and salmon oil. Stir until the greens are just wilted.
Pro Tip: This is a cold-emulsion technique. Adding delicate oils and greens at the end prevents the heat from denaturing the fragile Omega-3 fatty acids and preserves the heat-sensitive Vitamin C found in fresh produce.
The Deep Dive:
When analyzing the Macro Nutrition of these dog food chicken recipes, aim for a ratio of 50% protein, 25% vegetables, and 25% complex carbohydrates. This balance ensures your dog receives adequate fuel for muscle repair and sustained energy.
For Dietary Swaps, if your dog is on a "Keto" style diet, replace the grains with extra cauliflower or zucchini to lower the carbohydrate load. For a "Vegan" rotation (though chicken is our star here), lentils can serve as a nitrogen-rich protein substitute. If your dog has gluten sensitivities, stick to quinoa or amaranth.
The Fix-It: Common Pitfalls
- The Mush Factor: If your rice is too gummy, you have over-agitated the starch. Next time, rinse the grains in a fine-mesh sieve to remove excess surface starch before boiling.
- Dry Protein: If the chicken is rubbery, you have exceeded the internal temperature of 165 degrees Fahrenheit. Use a digital thermometer to pull the meat at 160 degrees; thermal carryover will finish the job.
- Oil Separation: If the salmon oil pools at the bottom, the mixture was too hot. Let the food cool to room temperature before stirring in fats to create a more viscous, integrated texture.
Meal Prep Science: To maintain "day-one" quality, store meals in airtight glass containers. When reheating, add a tablespoon of water to aerate the mixture and prevent the protein from becoming "woody" in the microwave.
The Wrap-Up:
You have just leveled up from a pet owner to a canine nutritionist. By focusing on the science of the sear and the precision of the prep, you are providing a diet that beats any bagged kibble on the market. These dog food chicken recipes are versatile, nutrient-dense, and packed with the love that only a home-cooked meal can provide. Keep experimenting with different textures and seasonal veggies to keep your pup's palate engaged. Your kitchen is now the headquarters for a healthier, happier dog!
The Kitchen Table:
Can I use chicken skin in these recipes?
It is best to remove most of the skin. While fats are essential, the high concentration of saturated fats in chicken skin can trigger pancreatitis in sensitive dogs. Stick to the lean muscle meat for the safest protein source.
How long does homemade dog food stay fresh?
Store your homemade meals in the refrigerator for up to four days. For longer storage, portion the meals into silicone molds and freeze them for up to three months to preserve the nutritional integrity of the ingredients.
Is it okay to add garlic or onions for flavor?
No. Garlic and onions contain thiosulfate, which is toxic to dogs and can cause hemolytic anemia. Stick to dog-safe aromatics like parsley or a tiny amount of fresh ginger to enhance flavor and aid digestion.
Do I need to add a calcium supplement?
If you are feeding homemade meals long-term, yes. Chicken meat is high in phosphorus but low in calcium. Consult your vet about adding crushed eggshells or a specific calcium carbonate powder to maintain proper bone health.