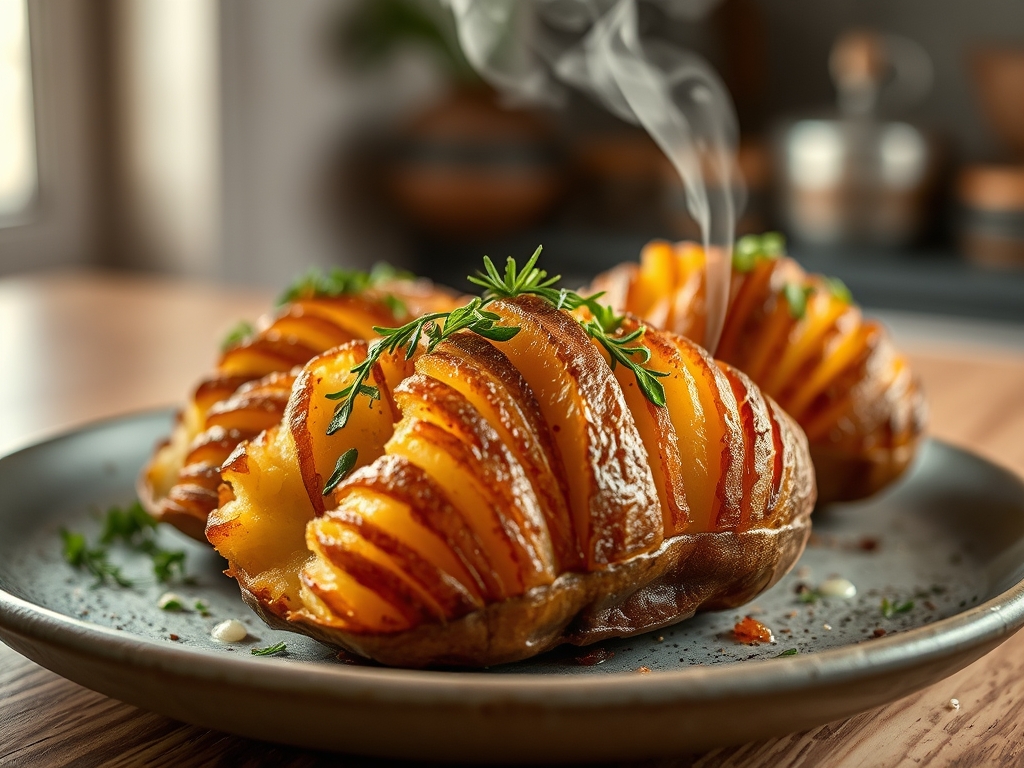
Imagine the scent of a wood-fired hearth meeting the sharp, salty tang of a coastal breeze. That is the aroma of a perfectly executed skin, crackling under the pressure of a fork to reveal a cloud of steam and a snowy, granular interior. Mastering russet baked potato recipes is not just about dinner; it is about manipulating starch molecules to achieve the ultimate textural contrast between a glass-like exterior and a velvet center.
Russets are the undisputed kings of the oven because of their high amylose content. Unlike waxy red potatoes that hold their shape with stubborn moisture, the russet is a dry, cellular masterpiece designed to shatter. When we bake them, we are essentially dehydrating the skin while allowing the internal water to turn into steam, which separates the starch granules into that iconic, fluffy pile. It is a delicate balance of heat and hydration that turns a humble tuber into a canvas for culinary art. Today, we are moving beyond the basic butter-and-salt routine to explore ten sophisticated upgrades that will transform your kitchen into a high-end bistro.
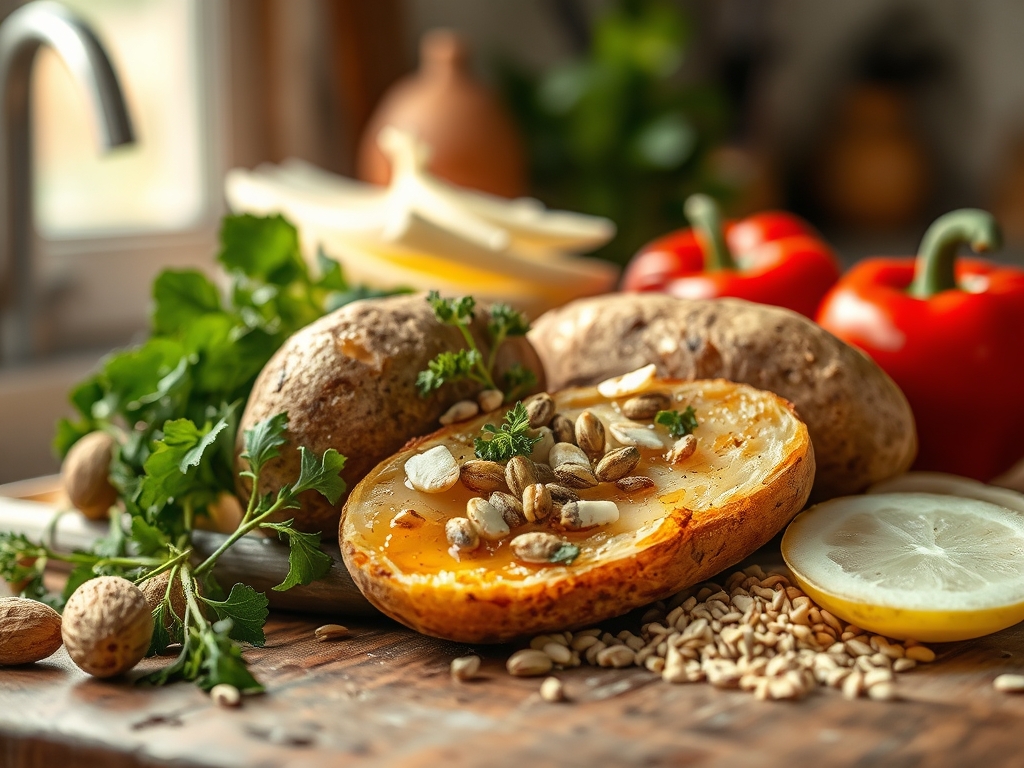
The Gathers:
To execute these upgrades, your mise-en-place must be precise. Start with large, uniform russets; look for those with a rough, "netted" skin, which indicates a mature starch profile. You will need high-quality fats for the Maillard reaction, specifically extra virgin olive oil or clarified butter (ghee), which has a higher smoke point than standard butter.
For your toppings, gather a microplane for grating hard cheeses like Pecorino Romano into ethereal wisps that melt instantly. Have a heavy-bottomed skillet ready for rendering thick-cut pancetta until it is piquant and crisp. You will also need a saucier if you plan to create a silky mornay sauce or a viscous balsamic reduction.
Smart Substitutions: If you are avoiding dairy, swap sour cream for a cashew-based crema infused with lime juice to maintain that necessary acidity. For a lower-sodium profile, replace table salt with flaky sea salt; the larger surface area provides a bigger flavor "pop" with less actual mineral content.
The Clock
Efficiency in the kitchen relies on what I call the Chef's Flow. A standard russet requires 45 to 60 minutes at 400 degrees Fahrenheit to reach an internal temperature of 205 degrees. Your total prep time is a mere 10 minutes, but the magic happens in the "active wait."
While the potatoes are undergoing their thermal transformation, use the first 20 minutes to prep your cold garnishes. The middle 20 minutes should be dedicated to any stovetop elements, like sautéing leeks or deglazing a pan with white wine for a mushroom ragout. The final 10 minutes are for assembly. This staggered approach ensures that your toppings are at their peak temperature the exact moment the potatoes emerge from the heat.
The Masterclass
1. The Osmotic Prep
Scrub your potatoes and dry them thoroughly. Use a fork to prick the skin about six times. This allows steam to escape, preventing the internal pressure from causing a structural failure or a "gummy" interior.
Pro Tip: Pricking the skin prevents explosive vaporization. If the steam cannot escape, it re-hydrates the starch, resulting in a dense, waxy texture instead of the desired fluff.
2. The Lipid Coating
Massage the skins with oil and a generous dusting of fine sea salt. Place them directly on the oven rack rather than a baking sheet to allow 360-degree air circulation.
Pro Tip: This technique utilizes convection heat to dehydrate the skin. The oil acts as a heat conductor, accelerating the crisping process through the Maillard reaction, which creates those complex, nutty flavors.
3. The Internal Assessment
Bake until the internal temperature reaches 205-210 degrees Fahrenheit. Use a digital scale or a probe thermometer to be certain. A potato is only "done" when the pectin bonds have fully broken down.
Pro Tip: This is the gelatinization point. If you pull the potato out at 185 degrees, the starch remains gritty. Reaching 205 degrees ensures the cells have separated into that "pillowy" state.
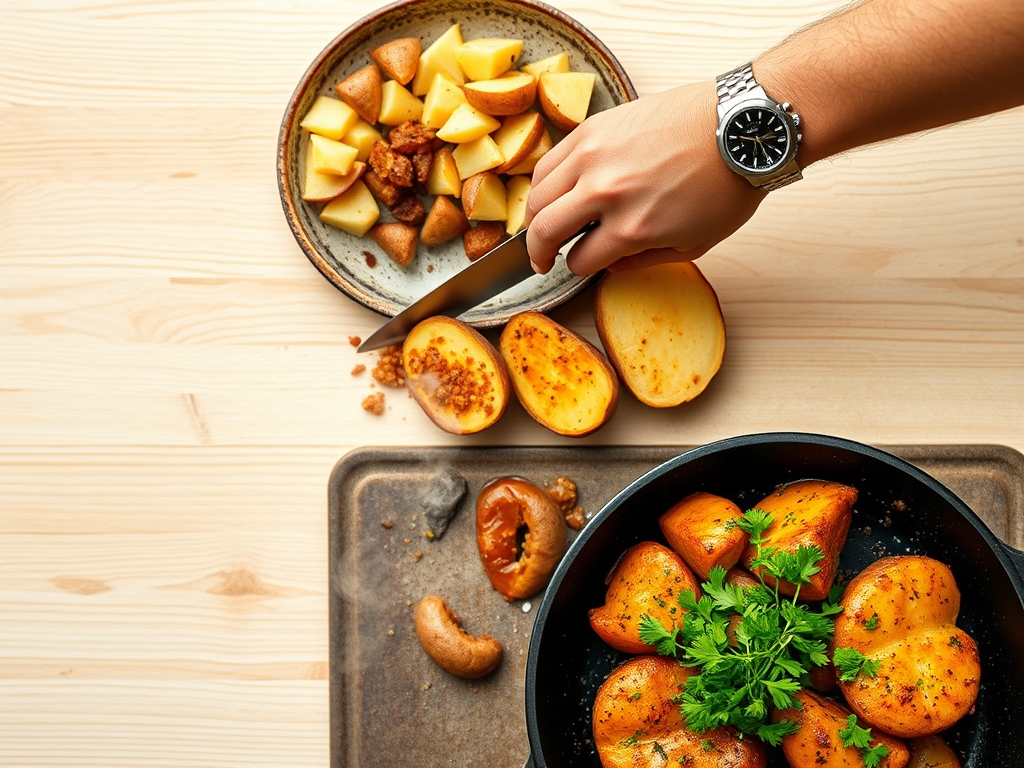
4. The Aeration Release
Immediately upon removal, use a bench scraper or knife to cut a longitudinal slit. Use a clean towel to "squeeze" the ends toward the center, forcing the steam out and the fluff up.
Pro Tip: This prevents thermal carryover from turning the steam back into water. If you leave the potato closed, the trapped moisture will condense and turn your fluffy interior into a soggy mash within minutes.
The Deep Dive
Macro Nutrition: A medium russet is a nutritional powerhouse, offering about 4 grams of protein and 5 grams of fiber. It is naturally fat-free and loaded with potassium, often exceeding the levels found in bananas.
Dietary Swaps: For a Vegan upgrade, use nutritional yeast and truffle oil for a savory umami bomb. Keto followers should focus on the "Loaded" aspect, using the potato as a vessel for high-fat proteins like brisket while limiting the actual consumption of the starch. All russet baked potato recipes are naturally Gluten-Free.
The Fix-It:
- Problem: Leathery Skin. Fix: You likely wrapped it in foil. Foil steams the skin; always bake "naked" for a crisp finish.
- Problem: Gray Interior. Fix: This is enzymatic browning. It happens if the potato was stored in the fridge. Always store potatoes in a cool, dark pantry to keep the starches stable.
- Problem: Bland Flavor. Fix: You didn't salt the skin early enough. Salt needs heat and oil to penetrate the surface layer.
Meal Prep: To reheat, avoid the microwave. Use an air fryer or oven at 350 degrees for 10 minutes. This re-crisps the skin through re-dehydration, whereas a microwave makes the potato limp and rubbery.
The Wrap-Up
You are now armed with the molecular secrets to turn a simple root vegetable into a gourmet centerpiece. Whether you are topping your russet with a decadent lobster thermidor or a simple, zesty chimichurri, remember that the foundation is the science of the bake. Respect the starch, master the heat, and never, ever settle for a soggy skin. Go forth and let your kitchen smell like the masterpiece it is about to become.
The Kitchen Table
Why is my baked potato skin soft instead of crispy?
Soft skin usually results from wrapping the potato in aluminum foil. Foil traps moisture, essentially steaming the skin. For a crispy exterior, bake the potato "naked" on the oven rack and coat it in oil and salt to encourage dehydration.
What is the best temperature for a russet baked potato?
For the perfect balance of a crispy crust and fluffy interior, bake at 400 degrees Fahrenheit. The internal temperature of the potato should reach between 205 and 210 degrees to ensure the starch granules have fully transitioned into a mealy texture.
Should I soak my potatoes before baking them?
Soaking is great for fries, but unnecessary for baking. For a baked russet, you want to keep the exterior as dry as possible. Simply scrub, dry thoroughly with a lint-free towel, and prick with a fork to allow steam to escape.
Can I bake potatoes ahead of time for a party?
Yes, but do not let them cool completely in an airtight container. Keep them warm in a low oven (200 degrees) for up to an hour. To reheat later, use an air fryer to restore the skin's structural integrity and crispness.